The gym can be an intimidating place.
Besides the grunting and the weights dropping, there is a secret code of conduct that is totally foreign to any newcomer on what to do and not to do.
These rules of etiquette aren’t just for newbies!
I see a lot of “veterans” who completely disregard them or just simply aren’t aware of what they are doing. So whether it’s your 1st or 500th time in the gym, let’s explain how to properly behave.
Gym Etiquette 101:
- Part 1: Getting Started and Preparation
- Part 2: The Dumbbell Area
- Part 3: Barbels and Other Equipment
- Part 4: Circuits and Supersets
- Part 5: The Squat Racks, The Bench Press, and the Lifting Platform
- Part 6: General Atmosphere
Also, if you’re nervous about the gym, turning people from “noob” to “warrior” is what we do in our 1-on-1 Online Program. But we don’t take ourselves too seriously, so we’ll program fun missions like “Play on the Treadmill” and “Lift One Easy-Peasey Weight” to ease into it. If you’re interested, check out more here:
#1) Getting Started and Preparation

If I had to summarize every gym rule into three simple, guiding principles, they would be as follows:
- Be aware of your surroundings.
- Act like it’s your equipment.
- Be cool.
Simple, right? Everything else is just a specific example of these three principles. Now, I’m not trying to be a Johnny Buzzkill with all these rules.
Nobody Likes Johnny Buzzkill.
Instead, they’re meant as a way to keep you and other gym goers safe, help you feel more confident and comfortable, and get the most out of your gym visit.
1) Read the rules at your gym!
This seems obvious, but when you step into the gym, take a look around at any rules that are posted on the walls. They are there for a reason! And if you’re not sure about a rule, ask a staff member! Some things that are 100% perfectly fine for one gym may not be okay for another gym.
Examples:
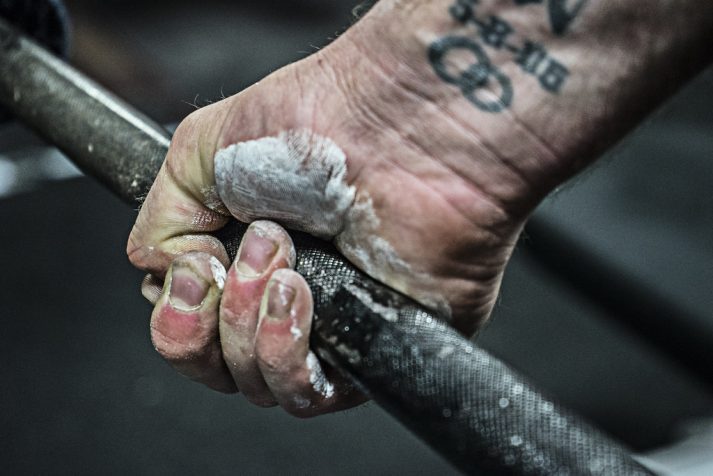
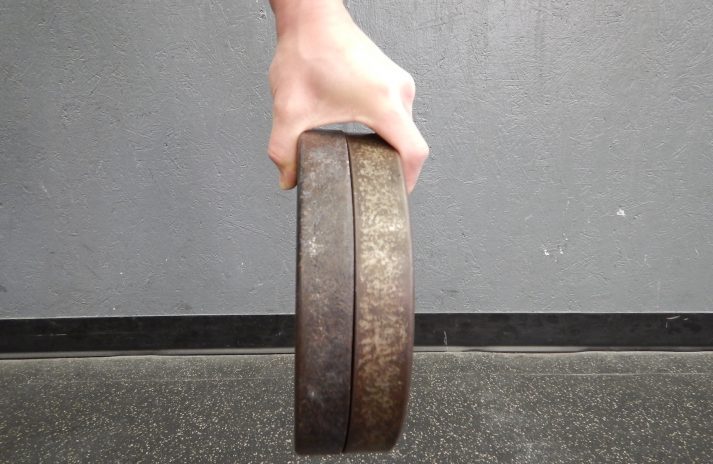
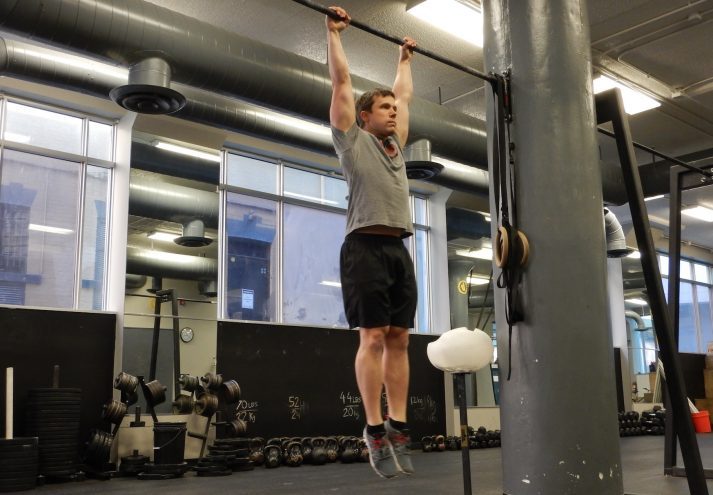
- Is chalk (for your hands-on moves like deadlifts or pull-ups) allowed or not? Some facilities don’t want to have to clean up the mess, while others allow you to coat the place like Tony Montana’s mansion.
- Are you allowed to drop weights and/or deadlift? Some facilities in office buildings won’t allow this, as it makes a ton of noise for other tenants.
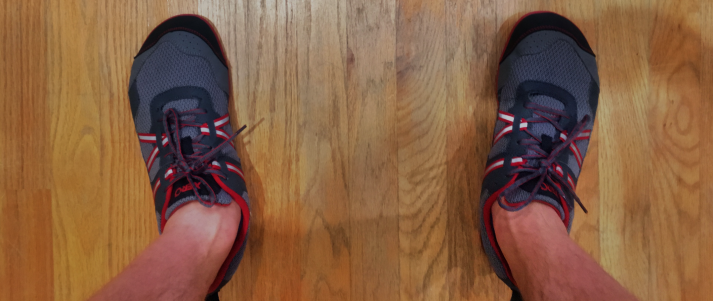
- Can you take your shoes off? Some people like “barefoot” training, but some facilities want you to keep your shoes on at all times for legal/safety reasons.
I could go on and on with various discrepancies, but in the end, it’s always going to come down to house rules. It doesn’t matter if you agree with the house rules or not, even if they are silly and should be ignored. Just like your dad used to say.
2) Shower / clean your workout clothes!
Yes, I know it sounds funny to shower before your workout, but I’m putting this rule of etiquette in here in case it has been a few days since you’ve last showered.
“I’ll just work out and shower afterward, never mind that I currently smell like a like a turd covered in burnt hair.”
People should not be able to smell you coming.

Keep things fresh!
On the same note, I know some people will work out, cram their sweaty gym clothes in a gym bag and then let them sit there and marinate until their next workout. After a few rounds of this, the clothes are likely to hop out of the bag themselves and start running around.
Gym shorts might be able to go for two workouts in a row, but shirts that have probably soaked up some armpit sweat should go straight from the gym into the hamper.
If you’re not sure this rule applies to you, this rule applies to you.
3) Use a Towel / Wipe down equipment
Cleanliness should be a given when sharing equipment, right? I’d hope so, but we’ve probably all seen the person who doesn’t use a towel and/or leaves a big sweaty puddle on the bench before they run off. This is gross.
Don’t be that person!
Use a towel (or bring one if one isn’t provided), and be sure to wipe down all surfaces your skin touches when you’re done with the equipment.
Any facility should have wipes or a spray bottle with disinfectant throughout the gym that you can use to spray and wipe down a piece of equipment. Not sure? Ask the staff!
This rule is pretty big, because as I say, “there’s nothing worse-a than MRSA”. (My mom was a microbiologist, so I can make that joke).
4) Put Equipment Away!
This falls into the “what if this stuff was yours” department. After you finish an exercise, put stuff back where it goes!
Don’t wait until the end of your workout; you should be cleaning up as you go along! Not sure where something goes? Ask the staff!
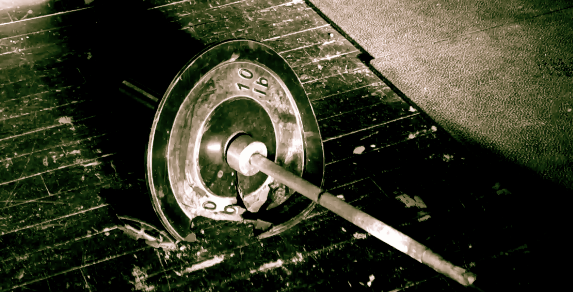
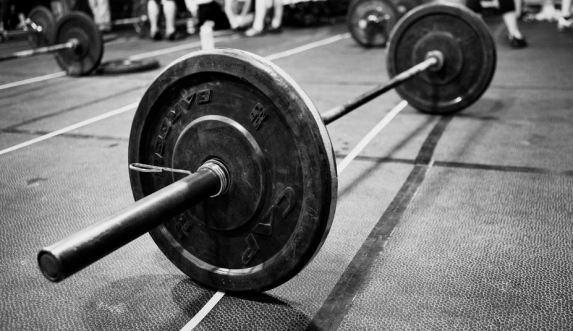
If you are lifting and using a bar, please please please put the weights back in some semblance of order. This is just common courtesy.
Your apathy becomes somebody else’s responsibility, which is not cool.
Don’t do this:
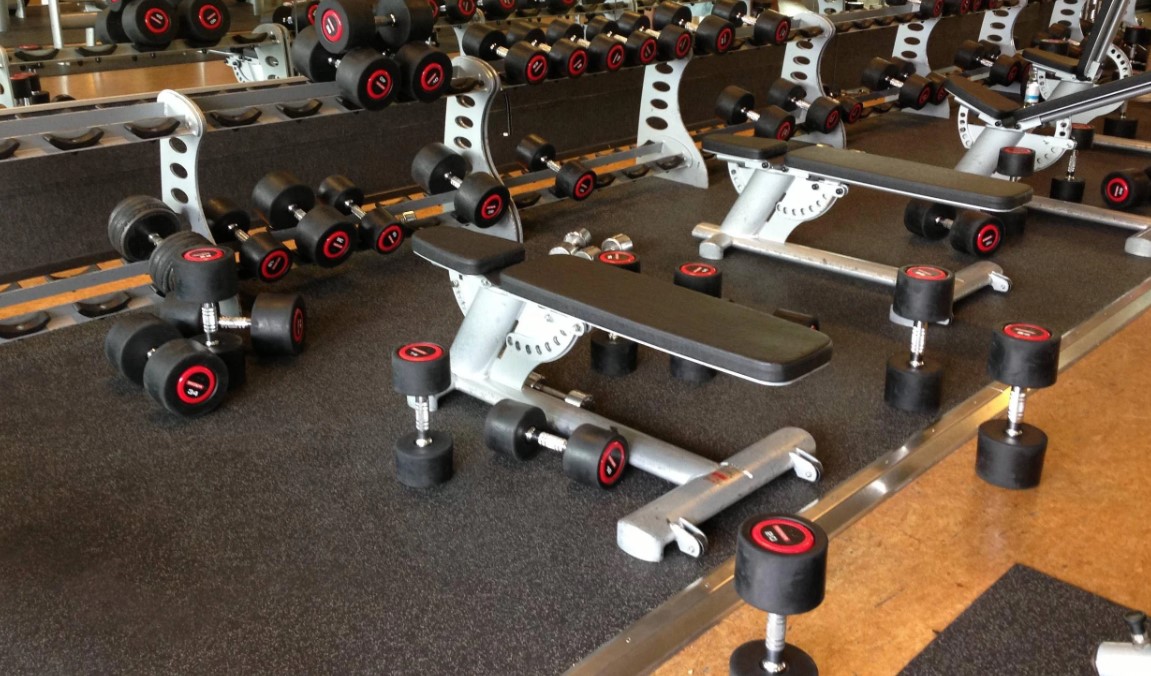
Ugh.
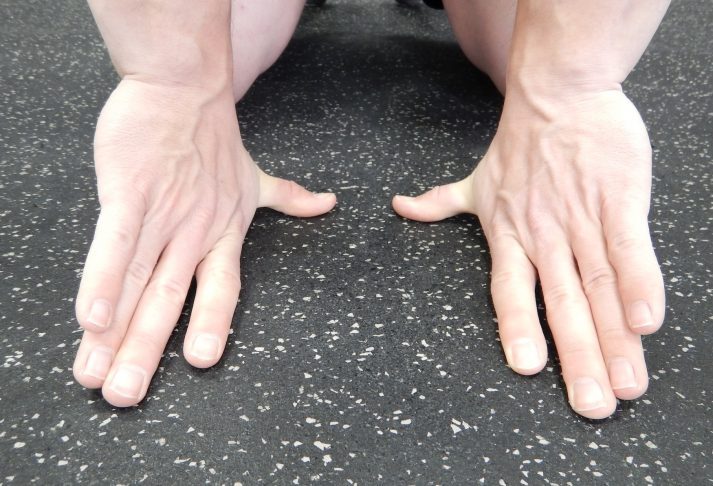
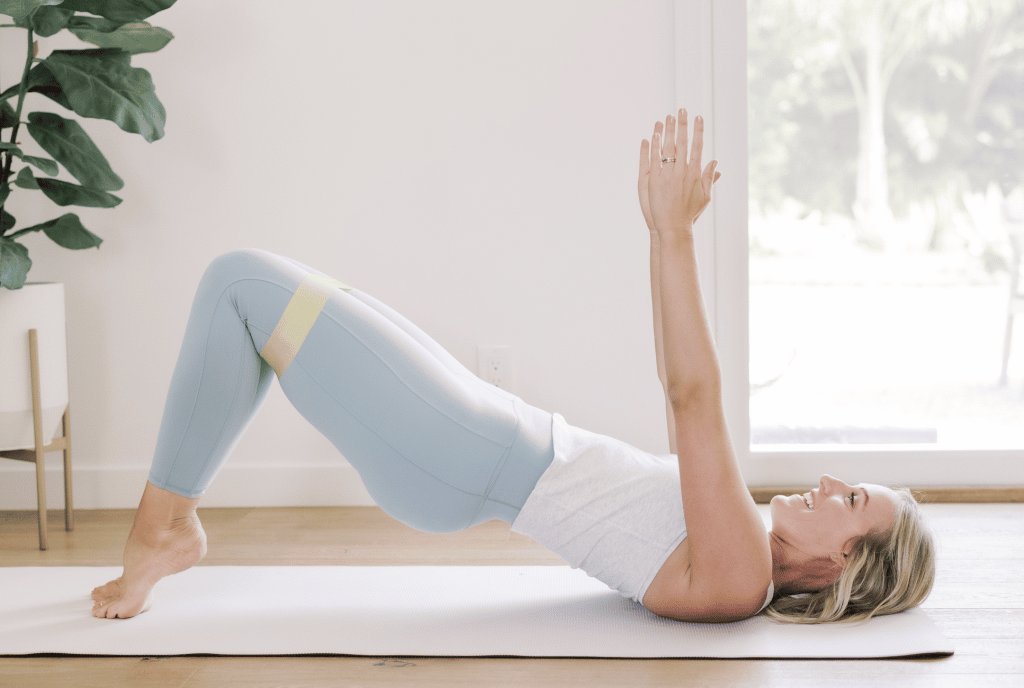
5) Warm-up / Stretching
What’s to be said about warming up and stretching? Just that you should make sure that you’re not setting up camp in a walkway.
For most gyms, it should be fairly clear where you stretch and warm up (there will often be mats or foam rollers around the area). If you’re not sure, just look for a spot where you don’t think you’ll be in anyone’s way.
You’d be surprised at how many people set up to stretch with all of their stuff in the middle of a thoroughfare and then get mad when you have to step over them.
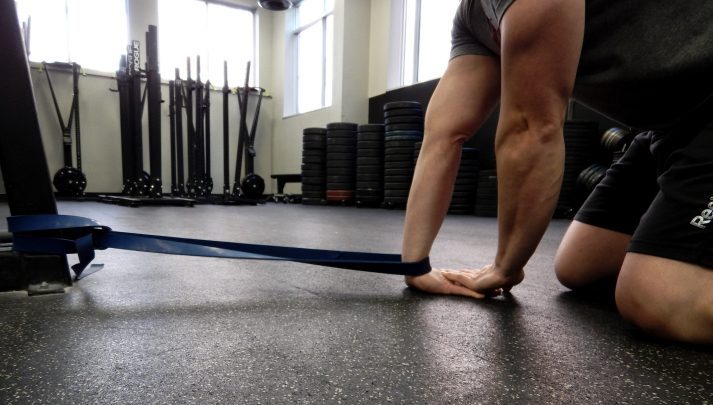
Also, these should help:
#2) the Dumbbell Area

1) Step away from the dumbbells
I see it all the time. Someone grabs a pair of dumbbells, then proceeds to stand directly in front of the whole rack and curl, shrug, or flap their arms up and down – like they’re a mother bird protecting their eggs from predators.
95% of the time, it’s curls.
I don’t care what exercise you do, but please just get your dumbbells and take a step away so others can use the dumbbells too!
I know some people want to use different weighted dumbbells back to back, but I swear you won’t lose your pump if you take an extra 10 seconds to walk the dumbbells back to the rack. You might even build up your grip strength a little more with the impromptu farmer’s walks!
2) Give people space
Move around the weight room like you’re defensive driving. If someone picks up a pair of dumbbells, just give them space to the front and side. With practice, you’ll start to anticipate what exercise they might do, and where their arms (and the dumbbells) will be.
You can still move and walk around them, but just walk a wider circle if needed. Getting smacked with a dumbbell is no fun for anyone involved. Walking blindly through the dumbbell section is like walking blindly through a windmill farm.
Weights can be lifted, swung, or circulated from anywhere at any time. Keep your head on a swivel, and move slowly if you see somebody with a weight.
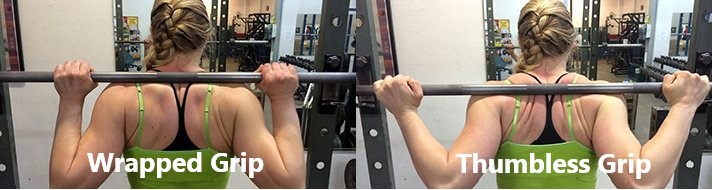
3) Don’t block someone’s view of the mirror
There’s a reason that any gym has a mirror behind its dumbbell rack – people like to watch themselves lift weights!
Now, for many, this may be a vanity issue, but for most, this is just to watch their form.
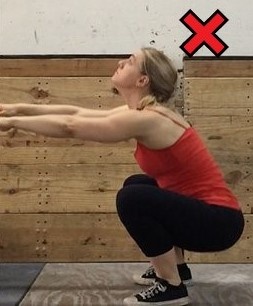
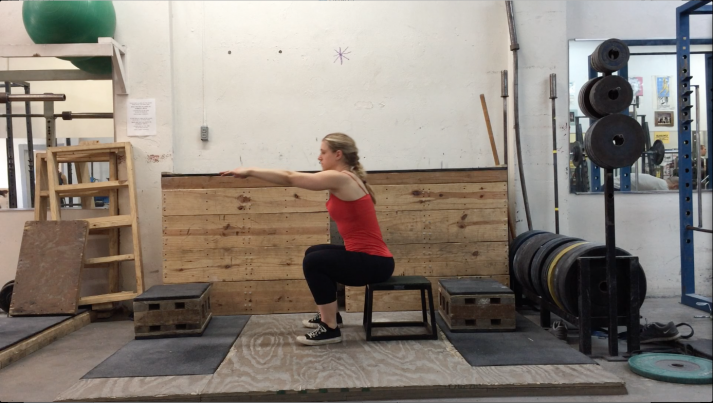
(Note: looking in the mirror during larger/heavier movements like the squat and deadlift is not recommended).
Regardless, don’t block someone’s view if it can be avoided! When you see someone looking intensely into the mirror and lifting dumbbells, then do your best to stay out of their line of sight. You can certainly walk in front of them, but give them some clearance and be quick!
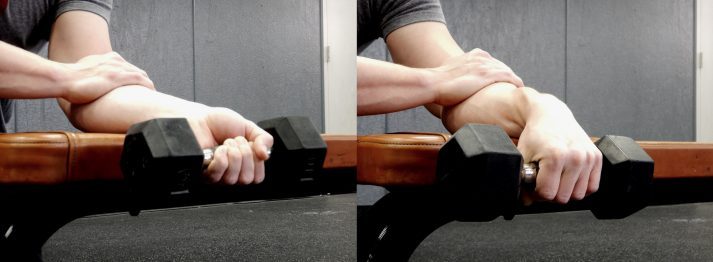
4) Don’t drop the dumbbells – only dumbos do this
Another common practice in nearly any gym is finishing a set with dumbbells, letting out a huge gasp, like you are Aquaman and just came to the surface of the ocean, then dropping/slamming the dumbbells to either side of your bench.
There are some weights that are meant to be dropped (more on that below) but dumbbells are NOT one of them. Structurally they don’t respond well to repeated drops, and you are very likely to break one of the dumbbell heads off. I have seen this countless times.
If your workout destroys the equipment you are using, you’re doing it wrong. And nobody thinks you’re cool dropping your weights, I promise. Even if they’re heavy.
Nobody cares.
Actually, they’ll care…if the dumbbell rolls or bounces onto their foot.
Don’t be that person.
#3) Barbels and Other Equipment

I’m sure there are plenty of people reading this who wish they could work out with no one else at the gym. I hear ya. Unfortunately, this is rarely the case, and many of us have to get to the gym when everyone else is there.
How do we share? It’s no different than how you were supposed to share your toys as a toddler.
1) Check if the equipment is free first
If I’m approaching a squat rack, a bench, a lifting platform, or anything else that someone may be using, I’ll get into my hunting and tracking mode – looking for signs that another lifter may be in the area.
- Is there a towel laid out on it? (Usually a sign something is being used)
- Are there other pieces of training equipment laying around, like a notebook, backpack, or weight belt? (Also a good sign something is still being used)
- Is there a loaded barbell? (50-50 that the equipment is being used. People are TERRIBLE at putting away weights – see my photo above)
After this quick assessment, look around the gym and see if anyone is coming over to that piece of equipment or looking at you. If it seems that someone is beelining toward me, eyes locked, then I ask them “Is this free? Are you using this?”.
If there are people immediately around a piece of equipment, I’ll wait until they are resting, then ask them if they saw anyone using this particular piece of equipment. When that person has their headphones on, this exchange is often just a non-verbal point in their direction, then a point at the equipment. Essentially asking them “Excuse me, are you using this?”

Writing all this out, I am starting to realize all the non-verbal cues and communication I’ve picked up over the past few decades in the gym. Bro sign language, as it were.
2) Saving equipment
So you’ve deemed the equipment is yours to use, score.
But now you want to save it while you go get a quick drink of water. No problem! A simple way to do this is to drape your towel over the bench or bar. This is like a “reserved” card on a table at a restaurant. I’ll often put my training log on the bench or under the bar too, as this is a further deterrent to someone swiping your stuff.
Note: this doesn’t mean you can just drape a towel over equipment, leave for 10 minutes, and then get mad when you come back and somebody else has taken it over!
If you need to step away from the equipment for whatever reason, don’t leave for more than 30 seconds!
And if you need to go to the bathroom or leave for longer than this, please relinquish the equipment to others who are ready to train at that moment.
3) “Working in” with someone
So there’s a piece of equipment that you want to use, but someone is using it right now! I go through a few thoughts in my head:
Can I do this exercise elsewhere or substitute another exercise? There are countless examples I could rattle off, but this will be something you’ll get to figure out as time goes on.
Should I ask to “work in” with this person? If the other person is doing the same exercise and/or around the same weights as you planned, then it makes sense to ask to work in.
If you are squatting 95 lbs (awesome!) and they are deadlifting 495 lbs, then it would involve a lot of weight changes (and moving the bar) and most people will say “no” to working in. Ask yourself if working in will cause a bunch of logistical problems. If the answer is “yes”, it’s best to wait.
If all lights are green, ask if you can work in with someone. When they finish a set, you can then change weights if needed and get in a set yourself. After your set, help them change the weight back to what they were using. If you’re not sure what to do, just talk to the person!
Afraid to talk to somebody at the gym about this? Level up your social skills here.
You may ask to work in, and someone says “no” or “I have just a few more sets”. If that’s the case, you wait for the equipment or find something else to do. It’s nothing personal! I’ll ask them:
- “How many more sets do you have?”
- “How much more time do you have?”
And then determine what to do from there. If it’s just a few minutes, definitely wait.
If you are waiting for a piece of equipment to free up, you can stand nearby, but don’t hover! That’s annoying! The person knows you want that piece of equipment.
#4) Circuits and Supersets

Here we are going to address what to do if you’re working two or more exercises back to back, in a small circuit.
There are definitely best practices for circuits at the gym:
Pick things that are close together It drives me crazy to start working out on a piece of equipment, and then somebody comes out of nowhere and says they are using that equipment – they were just busy doing another exercise on the other side of the room. Pick exercises/equipment that keeps your roaming area small.
FORGET about complicated circuits when the gym is busy. Is the gym busy? Forget about trying to get a squat rack AND a bench AND a chin-up bar. Pick one. There’s the classic CrossFit workout “Linda” that has you using three different barbells with different weights for different exercises, plus a bench (for the bench press). If you ever try running this in a busy gym, people have the justifiable right to throw you out the window.
Less complicated circuits during busy gym times might be a barbell exercise, followed by a bodyweight exercise. Or even something on the chin-up bar, followed by a bodyweight or dumbbell exercise in that immediate area.
Learn to share!
Whatever you do, don’t occupy multiple pieces of equipment and then lollygag or mess around on your phone instead of actually doing the workout.
This will draw the ire of your fellow gym goers faster than anything.
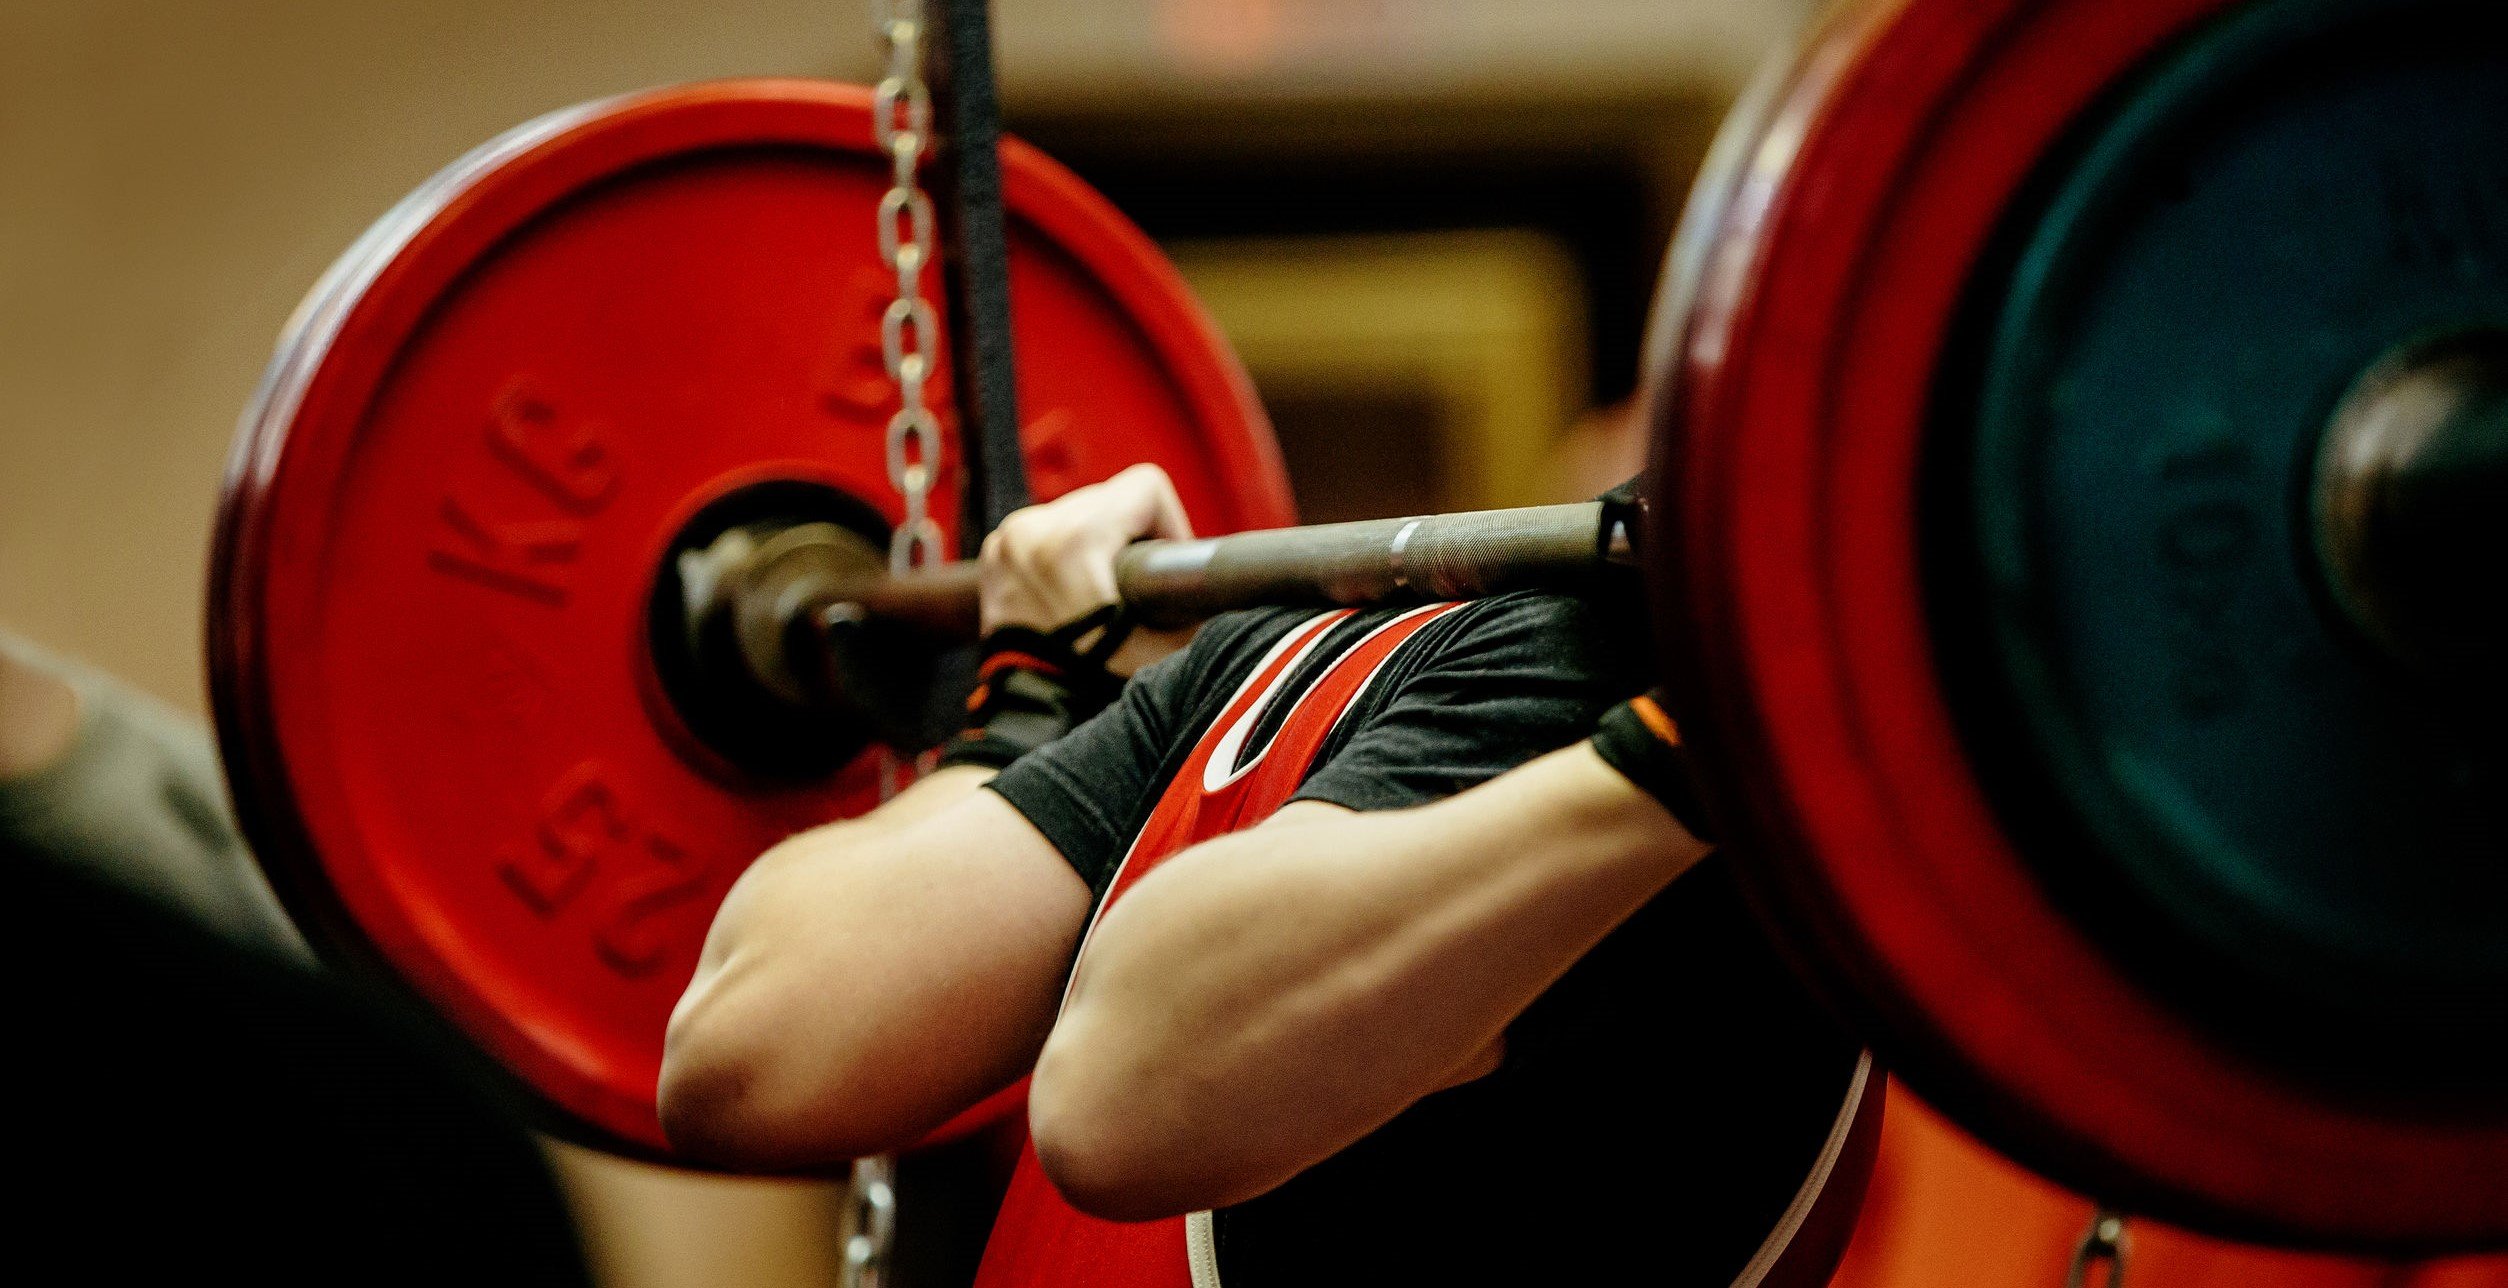
#5) the Squat Rack, the Bench Press, and Lifting Platform
I recommend you read this section, even if you think you’re miles away from using either of these.
(And if you’re scared to use the rack or the platform, check out our Beginner’s Guide to work your way up!).
Here at the squat rack, bench press, or lifting platform, the chance of injury increases if you’re careless due to more weight being lifted/thrown around. So let’s go down some rules of etiquette to remember.
1) Stay out of a lifter’s “bubble”
Unless you are spotting them (another article entirely), you’ll want to stay around 3 feet (1 meter) or more away from another lifter. This is safety for you, and to not distract them. When in doubt, wait until they are completely done with the lift before moving around them.
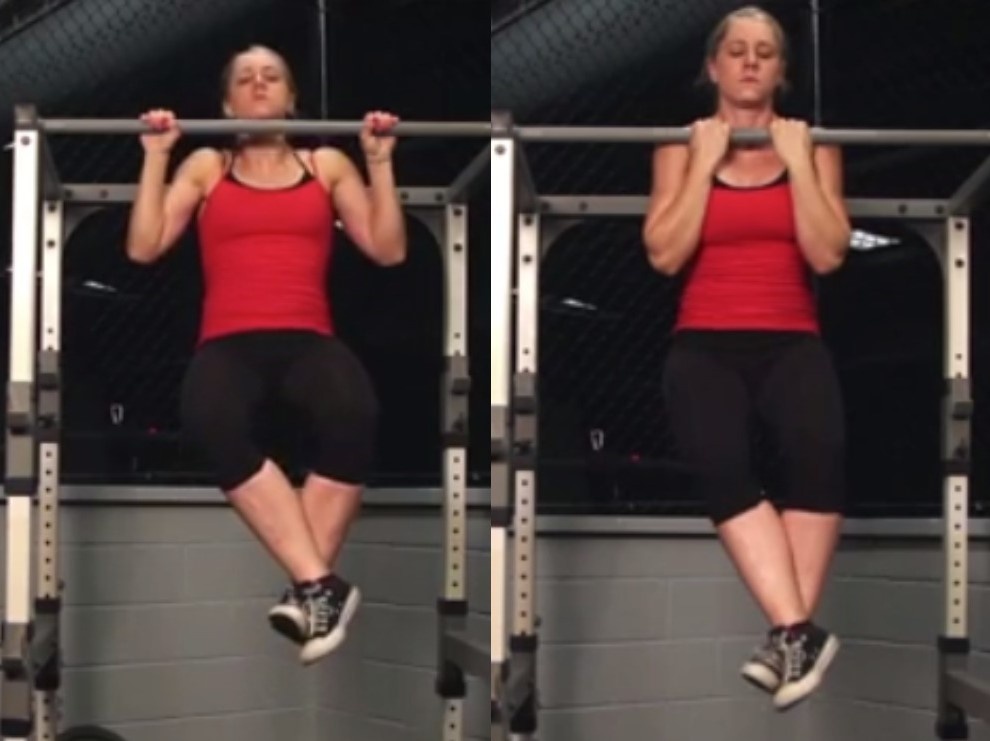
2) Stay out of a lifter’s line of sight
This might not sound intuitive, but if you can – stay out of the lifter’s line of sight (area directly in front of them for about 10 feet/3 meters) when they are getting ready to lift, or when they are lifting.
This is VERY distracting to be walking/moving around when they are lifting.
3) Leave someone alone if they are getting ready for a lift
People don’t just instantaneously squat or deadlift. There is often mental preparation before one actually grabs the bar. This is a terrible time to talk to the lifter at all (except if they are in immediate danger).
How do we know if the lifter is getting ready? They’ll often be facing the bar, looking serious, perhaps eyes closed in focus. Look for these cues and give the person their space. Speak with them after a lift, after some time has passed.
4) Bail the bar correctly / Don’t destroy equipment
For ANY exercise you do, if you are destroying the equipment in the process (e.g., dropping and breaking dumbbells, bending bars), then you are doing something wrong.
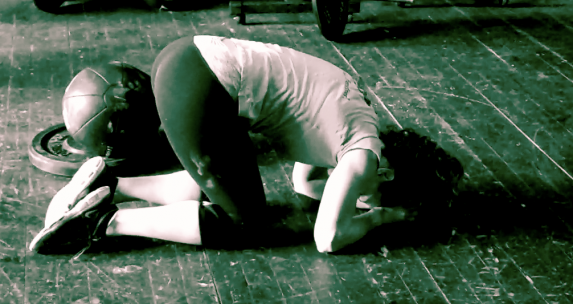
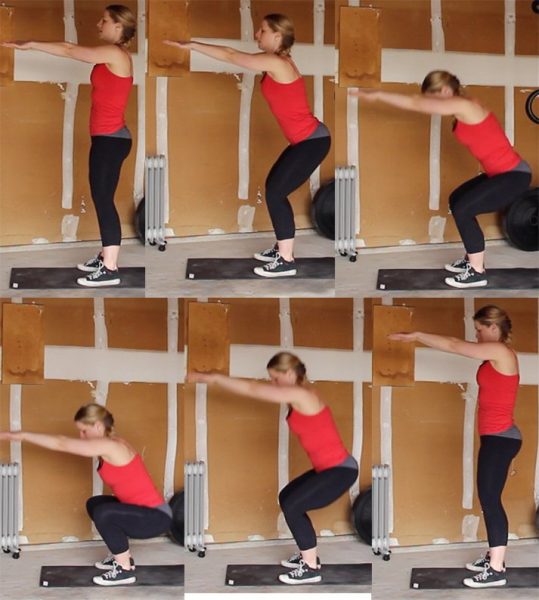
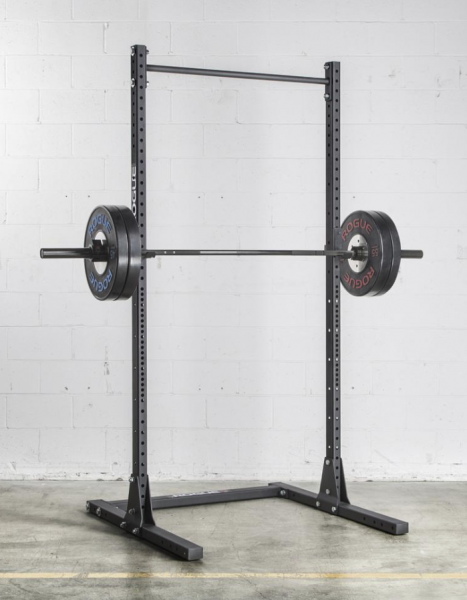
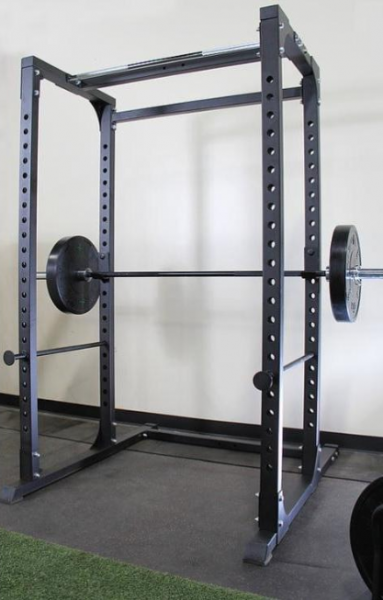
For something like the back squat, set the squat rack safety pins to just below your squat depth, and place the bar down on the pins if you get caught:
If you throw the bar backwards off your shoulder while in a squat rack, it will tend to bounce off the pins and bend/ruin the bar.
If you are lifting outside a squat rack with bumper plates, it’s completely fine to drop the bar to the ground behind you. Buck the bar back and get your butt out of the way.
For more, here’s How to Bail Out of a Back Squat:
If all of this scares the heck out of you, use weights that you are confident you can lift (no need to bail), and/or ask a staff member. Just remember that when you bail, both you AND the bar should be in good shape afterward!
5) Use the right bar!
The standard barbell in most gym is 45 lbs/20 kg, BUT some gyms may have women’s bars (33 lbs/15 kg), and even practice bars (15 lbs/5 kg). If you load a 15 lb bar (often made of lightweight aluminum) up with 45 lb plates, you can easily bend and ruin the bar.
Again, we advise against destroying your gym’s equipment. If you’re not sure of bar weight – ask a staff member (that’s what they’re there for!) or even a fellow lifter.
6) Unload the bench press, and squat weights properly: DANGER DANGER
This may be less a matter of etiquette and more a matter of safety, but make sure you unload a bench press or squat fairly evenly from both sides. This may take a little longer as you take off a single plate from one side, then a single plate from another side, but trust me when I say it is absolutely the way you have to do things.
If you take ALL the weight off one side and leave the other side with a ton of weight on it (anything more than a 45 lbs/ 20 kg differential concerns me), then you put the bar in a very unbalanced position, and it can easily flip sideways off the bench or squat rack, especially if bumped.
I pray you never see this happen, as it is scary and can cause serious injury to yourself or others around you.
7) Asking for or giving a spot
A “spot” is just an assist during a lift. We could write an article just about this (and Critical Bench has written an excellent one). If someone asks you for a spot and you feel uncomfortable, simply decline and say you’re not comfortable with it! They’ll understand!
If you are in need of a spot, simply ask someone nearby who looks strong and is currently available. In your gym career, you’ll probably be spotting bench press 99.9% of the time.
Before I give or get a spot, I’ll make sure we are both clear on the following key points:
- “Do you want a lift off or not? (help taking the bar off the rack)”
- “How many reps are you going for?”
Anything else that’s special should be laid out before the bar is out and moving. Lots to cover, and again I’ll defer to the Critical Bench article if you want to read more!
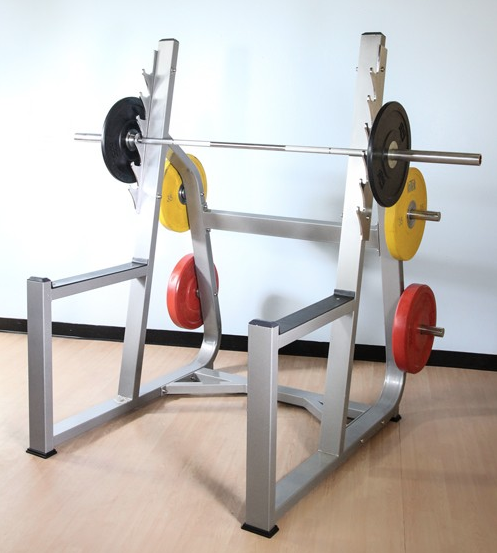
8) Don’t do curls in the squat rack
This rule is comically universal. The point of it that the squat rack should be used for squatting, overhead pressing, perhaps benching, and for doing all these other barbell exercises that are often hard or impossible to do elsewhere.
If you’re curling (or doing anything else) in the squat rack that could EASILY be done elsewhere, then people will call you out on it.
This goes for many exercises. If you can do that movement somewhere else, but you’re taking up the location of a place where only specific exercises can be done, you might be tarred and feathered by the locals.
Fair warning!
#6) General Gym Atmosphere
We’ve talked about preparation. We’ve talked about specific areas of the gym. Let’s go back to general gym etiquette:
1) Getting advice from randos
For as long as there have been gyms, there have been “bros”. And for as long as there have been “bros”, there has been “bro science”. This generally means the type of advice thrown around the gym that may be true, false, or just plain ludicrous.
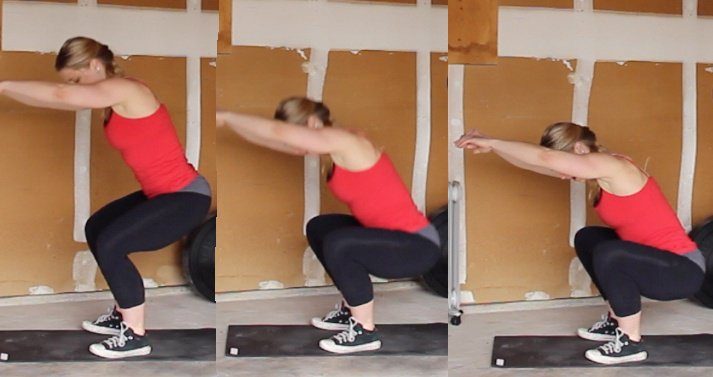
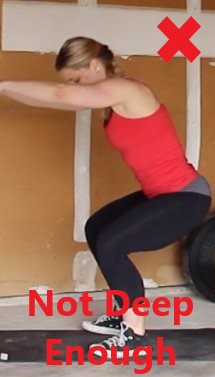
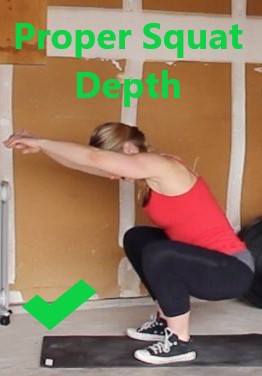
Men: Feel free to listen to any advice given, nod your head politely, and then continue on with your workout as before. If you are genuinely curious, just research the advice later. Steve recently had an old man tell him squatting below parallel was going to ruin his knees – Steve politely nodded, then got back to squatting deep.
Women: Feel free to listen to any advice given, nod your head politely, and then continue on with your workout as before. Women may find themselves being talked down to by a male gym member – given “advice” or off-hand comments.
Our Senior Coach Staci, who deadlifts 400+ pounds, often has bros remind her “the big ones are 45-pound plates, don’t hurt yourself.” She then proceeded to load up 4 of them on either side of the bar and outlift the bro. He shut up quickly, but there’s always another one to take his place, sigh.
Her advice for this situation:
“If someone treats you like you’re an idiot, or if they start telling you you’re doing things wrong, I always reiterate a very simple and polite line: ‘I appreciate your input, but I’ve got to finish my workout now. I’m on a tight schedule.’
It doesn’t matter what they said or if they’re wrong. Just move on.”
2) GIVING advice to randos
Unless someone is putting themselves or others in immediate danger, I don’t give unsolicited advice. Even if someone might need it, no one appreciates the “know-it-all”, and you never know someone’s goals, previous or current injuries, or experience.
They could be doing EXACTLY what they need to be doing!
3) Making noise / expletives
While some gyms may forbid you from making noise, many are fine with you making a bit of noise while you lift.
Every gym is going to have a different atmosphere, but generally speaking, you’re fine making some noise as you fight through a tough part of a lift (think of a karate “kiai!”).
Yelling and screaming loudly and continuously, like someone electrified your barbell, is often frowned upon because it is very distracting to other people working out.
Expletives? If you’re in a gym that is fine with curse words during lifting, you’ll soon know it. Just assume that people don’t want to hear you drop F-bombs around them. Weight training is cathartic, but we don’t need to get that crazy.
4) Dropping weights
We’ve already talked about dumbbells (don’t drop them) and barbells in the squat rack (bail correctly, don’t just drop a bar onto metal pins).
The one time it’s perfectly acceptable to drop weights is when using bumper plates. These are plates that are coated in rubber and often used for Olympic Weightlifting (the clean, the jerk, and the snatch). These bumper plates can be safely dropped and this makes bailing out of an Olympic lift much safer.
If you are not used to hearing this type of weight drop, it will sound like a bomb went off to you! No fear! You will soon get used to this common sound in the gym.
If you are dropping these weights yourself, don’t just drop them and let them fly wherever. Keep your hands by the weight to keep them in your lifting area.
When in doubt about dropping weight – ask the gym staff!
5) Don’t stare and No Creepin’
This is good life advice, but in the gym this can be incredibly distracting to someone working out (and a little creepy). I know that whatever the person is lifting may be impressive, but standing and staring – in their line of sight – is quite distracting!
I include this because it’s happened to me. Cleaning some weight, and had a guy stand in front of me (no) about two feet away (no) and watch me lift, like I was a television (no, no, no). Staci deals with the same. And gentlemen, just because you’re staring at somebody through 8 different mirror reflections – if you can see them, they can see you. You’re not clever, you’re creepy.
6) Cell phone use
We understand that having a cell phone on the gym floor is useful – whether using it as a timer, tracking your workouts, or filming your workout/technique.
Just refrain from loud, distracting conversations on the gym floor (take it elsewhere!). If you can talk on the phone loudly throughout the entirety of your workout (which I’ve seen people do), you’re doing it wrong.
Also, don’t occupy a piece of equipment if you’re going to sit there scrolling through Instagram or Facebook. You’re there to train, so train!
Lastly, the gym is not your private filming studio. Any filming should be done so that the number of other people in your video is reduced or eliminated.
Not everyone wants to be an “extra” in your Instagram video! Also understand that people aren’t always on the lookout for your cellphone filming, so have some patience if people walk in front of your camera – they don’t know it’s on or what you’re doing.
7) Drinking water and eating food on the gym floor
Protein shakes are fine if you’re into that thing (our thoughts on supplements here). Protein bars are borderline.
What about bringing a gallon of water with you around the gym? If that’s your thing, and you reallllllly like water, go for it. Just don’t spill it please.
Everything else can wait until later. I’ve seen people eating a wide range of things on the gym floor. Ick.
8) What if someone is being uncool?
As I mentioned before, if someone is doing something that is an immediate danger to themselves or others, it’s fine to step in and give them warning right then and there. It’s more important that we keep all our fellow gym-goers safe, than worry about offending someone.
If someone is doing some of the other things on this list (and someone eventually will), you can feel free to tell them yourself.
HOWEVER, most people will not take kindly to this, even if they’re in the wrong. The easiest thing to do is bring it to the attention of the gym staff. They will deal with it in the best way possible – because that is part of their job!
No More Accidental Assery, Congrats!

This might look like a monster list of things you HAVE to remember before you step foot into the gym.
Please, don’t stress and don’t get overwhelmed. We’re laying these etiquette rules out there because Rebels ask us about these all the time. We all want to be more comfortable in the gym, and knowing just a few of these things can help with that. Think of this as a resource you can refer back to when you need to catch up.
Remember, most of these come back to the following:
- Be aware of your surroundings
- Act like it’s your equipment
- Be cool
The rest is just details – Ones you’ll know by heart as you continue your fitness journey. Always remember to have fun!
What’s the most absurd thing you’ve seen somebody do while in a gym?
Have any other tips for your fellow gymgoers?
Leave it in the comments below!
-Jim
PS: Still here? Want even more help? You got it.
1) Our popular 1-on-1 coaching program. No more guesswork, no wondering if you’re doing the right program, no shame or guilt. Just results that don’t suck, and a plan that doesn’t make you miserable.
We keep you accountable to make sure you actually do your workout, we answer any questions you have, and we cheer you on every step of the way:
2) If you want a daily prompt for doing workouts at the gym (or at home), check out NF Journey. Our fun habit-building app helps you exercise more frequently, eat healthier, and level up your life (literally).
Try your free trial right here:


3) Join the Rebellion! Our free community numbers in the hundreds of thousands scattered throughout the globe, and we need good people like you!
You can join by signing up in the awesome yellow box below, and I’ll send you a bunch of free guides and printable workouts, including our Strength 101 guide!
- Everything you need to know about getting strong.
- Workout routines for bodyweight AND weight training.
- How to find the right gym and train properly in one.
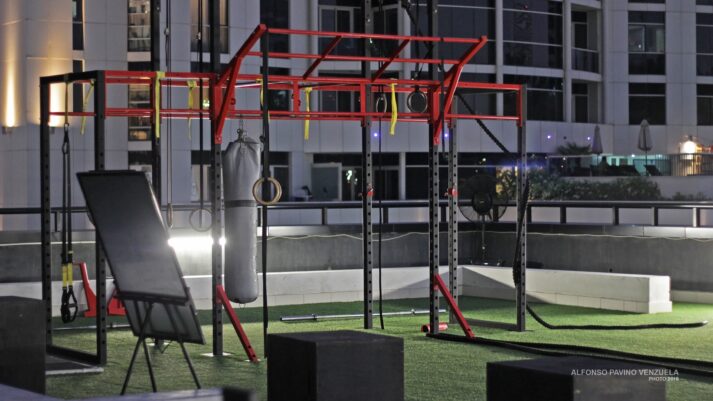
photo credit: Brickset Series 17 CMFs,clement127 Amazing playground: bicycles and football, o0bsessed: dumbbells, BMiz: Potential, Reiterlied The LEGO Overflow, alfonso venzuela elevation fitness dubai & outdoor gym, Reiterlied Serial Prankster; unracked weights
The post Gym Etiquette: 29 Unwritten Rules first appeared on Nerd Fitness.
from Nerd Fitness: Helping You Lose Weight, Get Stronger, Live Better. https://ift.tt/QkvlH3f
via IFTTT
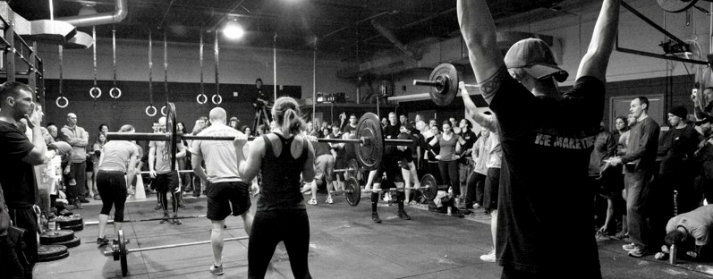
 CrossFit is advertised as “the sport of fitness.”