This guide will tell you everything you’ve ever wanted to know about CrossFit but were too afraid to ask (Including “Is CrossFit good for losing weight?”).
If you’ve ever questioned why people run around parking lots with sandbags, you’re in the right place.
Many of the coaches in our Online Coaching Program have been CrossFit instructors or gym owners, so this is what we do best: help people start strength training confidently and without injury.
CrossFit can be AMAZING…for the right person, with the right CF coach.
Luckily, this guide is going to help you figure out both of those things!
In this Beginner’s Guide to CrossFit, we’ll cover:
- What is CrossFit?
- Can beginners do CrossFit? (8 things to consider)
- How dangerous is CrossFit?
- What is a CrossFit class like?
- How to find a CrossFit gym
- Can I do CrossFit at home?
- What is a CrossFit workout I can try?
- FAQ on CrossFit
- Is CrossFit right for me? (Pros and Cons)
Let’s jump right in!
What is CrossFit?
 CrossFit is advertised as “the sport of fitness.”
With constantly varied, high-intensity functional movements, CrossFit is a training philosophy that coaches people of all shapes and sizes to improve their physical well-being and cardiovascular fitness in a hardcore yet accepting and encouraging environment.
Here’s the definition of CrossFit from the official site:
CrossFit is the principal strength and conditioning program for many police academies and tactical operations teams, military special operations units, champion martial artists, and hundreds of other elite and professional athletes worldwide.
Our program delivers a fitness that is, by design, broad, general, and inclusive. Our specialty is not specializing.
Combat, survival, many sports, and life reward this kind of fitness and, on average, punish the specialist.
CrossFit contends that a person is as fit as they are proficient in each of ten general physical skills: cardiovascular/respiratory endurance, stamina, strength, flexibility, power, speed, agility, balance, coordination, and accuracy.
Or, in nerd speak – CrossFit is a training program that builds strength and conditioning through extremely varied and challenging workouts.
Each day the workout will test a different part of your functional strength or conditioning, not specializing in one particular thing, but rather with the goal of building a body that’s capable of practically anything and everything.

CrossFit is extremely different from a commercial gym…and not just because you won’t find any ellipticals, weight machines, or Zumba.
Not that there’s anything wrong with some of those things. We work with our coaching clients to find the style of exercise that works best for them.
If you want to mix up strength training with other fun exercises…
Can Beginners Do Crossfit? (8 Things to Consider)

According to the CrossFit site:
This program “is designed for universal scalability, making it the perfect application for any committed individual regardless of experience.
We’ve used our same routines for elderly individuals with heart disease and cage fighters one month out from televised bouts. We scale load and intensity; we don’t change programs.”
What that means is that every day there is a particular workout prescribed (you’ll often see this written as “Rx’d”) for everybody that comes to CrossFit.
Rather than having one workout for older women and another for hardcore athletes – there’s ONE workout each day that is completely scalable based on your skill.
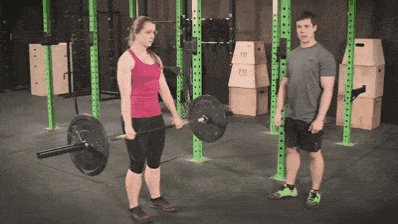
For example, if the workout calls for barbell squats with 135 pounds but you can only do squats with the bar (45 pounds), then that’s where you’ll start.
If you’re injured and can’t do squats at all, a similar movement will be substituted, and if the number of reps is too many for your current ability, that will be reduced.
As you get stronger and more experienced you’ll work your way towards eventually doing the workouts as prescribed.
Now, although CrossFit can be for everybody, it certainly ISN’T for everybody. In this blogger’s humble opinion, CrossFit is perfect for a few types of people:
#1) Beginners to weight training – If you have NEVER weight trained before (or trained only on machines), CrossFit is a great place for you to start (provided you have a great coach, which I’ll cover shortly).
You’ll learn how to do all of the important lifts in a super supportive and nonjudgmental environment. You might even find that…GASP…you love strength training!
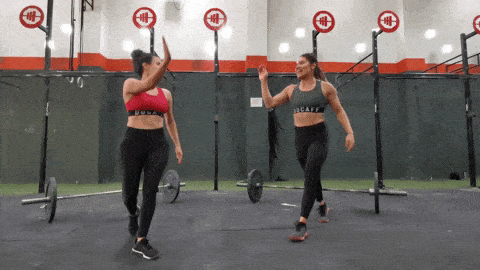
#2) People looking for support and community – This is the appeal to CrossFit for me: every CrossFit gym has a really tight-knit community feel to it.
You’re not just a membership payment to them; you’re a person that needs support.
When Nerd Fitness gyms start popping up (don’t think it won’t happen!), I’ll be drawing a lot of inspiration from CF as to how members are so supportive and inclusive of each other.
#3) Fitness fanatics – You know those people that love to work out every day and feel like something is missing if they don’t?
The way CrossFit is structured, you are working out with regular consistency.
The general protocol is 3 days on, 1 day off, but many CrossFitters end up at the gym more frequently. It’s addicting.
#4) Masochists – I mean that in the nicest way possible. CrossFit often rewards people for finishing workouts in the least amount of time possible.
This means that you’ll often be in situations where you are using 100% of your effort to finish a workout, exhausting yourself, and forcing yourself to push through the struggle.
#5) Former athletes – CrossFit has built-in teamwork, camaraderie, and competition.
Almost all workouts have a time component to them, where you either have to finish a certain number of repetitions of exercises in a certain amount of time, or the time is fixed and you need to see how many repetitions you can do of an exercise.
You get to compete with people in your class, and go online to see how you did against the world’s elite CrossFit athletes. There is even an international competition for those that become truly dedicated.
There are a few people for whom I don’t think CrossFit would be as beneficial, but this doesn’t mean they won’t enjoy it:
#1) Specialists – CrossFit prides itself on not specializing, which means that anybody who is looking to specialize (like a powerlifter) will not get the best results following the standard CrossFit workout schedule.
If you want to be good at a specific activity, that’s where your focus should be.
#2) Sport-specific athletes – Like the specialists, if you are an athlete training for a sport, you’d be better off finding a coach that is trained in getting great performances out of athletes in your specific sport.
Every sport has special movements that require certain types of power in specific muscles.
CrossFit prepares you for everything, but won’t improve your specific sport skills unless you are training for those specific sport skills! Many athletes choose to combine CrossFit with sport-specific workouts (see things like CrossFit Football) in their off-season for conditioning, but that’s up to each sport’s coach.
#3) Solo trainers – Some people, myself included, love to work out alone: my training is my meditative time each day. CrossFit is group training, which means you won’t have that opportunity to get your stuff done on your own.
If you are somebody that likes the IDEA of CrossFit, but you like to train on your own and you still want expert guidance and accountability…
I have a great solution for you!
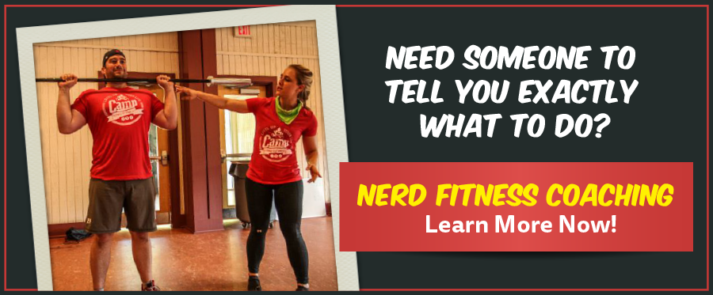
Our 1-on-1 Coaching Program helps people EXACTLY like you! We create custom workouts and nutritional guidance based on your personality, the equipment you have access to, and your busy life. Let us help you get strong.
How Dangerous is CrossFit?
In short, yes, CrossFit can be dangerous.
But that could be said of literally any sport or exercise.
Or driving a car.
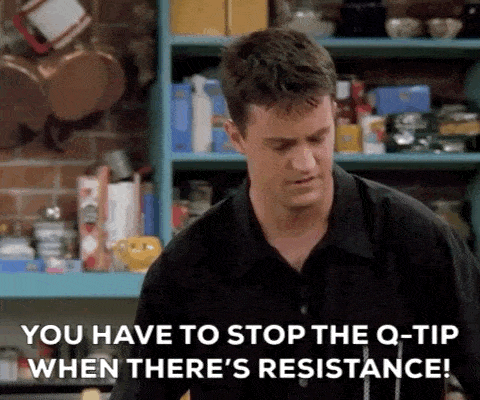
Or using a Q-tip.
In the wrong situations, with the wrong coaches, and for a person with the wrong attitude, CrossFit can be dangerous:
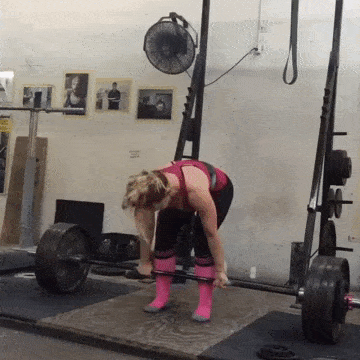
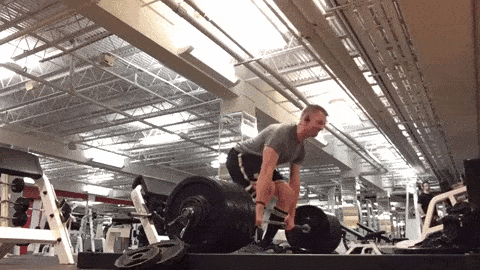
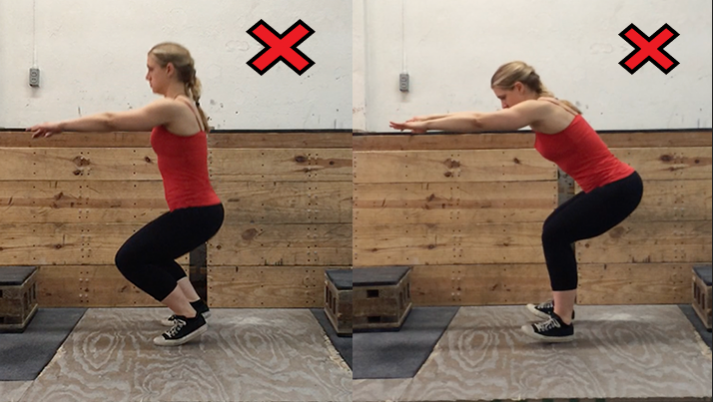
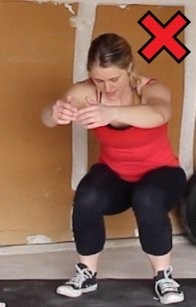
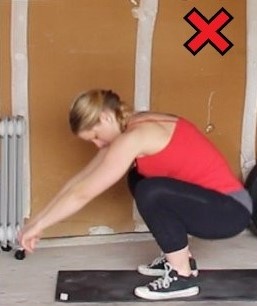
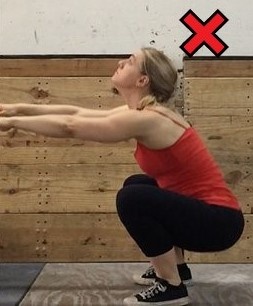
1) During a CrossFit workout, you’re often told to complete a number of strength training or endurance exercises as fast as possible, or complete as many repetitions as possible in a certain amount of time.
For that reason, it’s REALLY easy to sacrifice form in exchange for finishing the workout quicker. If you don’t have somebody spotting you or telling you to keep your form correct, then you’re in trouble.
When it comes to strength training, improper form (especially at high speeds with heavy weights) is the FASTEST way to get seriously injured.
If a CrossFit gym is run by inexperienced and unproven coaches – which definitely happens – then things like this happen and they happen frequently.
2) CrossFit attracts a certain type of person – namely folks who push themselves so hard they actually do bodily harm. Ask any CrossFitter if they’ve met “Pukey the Clown” and they’ll probably tell you yes.
Due to the nature of competition, the motivating atmosphere, and people’s desire to do well, many people in CrossFit often push themselves beyond their personal limitations (which can be a good thing)…but oftentimes they push themselves too far.
I totally get it.
In my first CrossFit experience three years ago, I almost made myself puke because I wanted so badly to finish with a good time.
Last year, I did another CrossFit workout that I hadn’t properly prepared for and cranked out 100 pull-ups quickly…and I ended up walking around with T-rex arms for a WEEK because I physically could not straighten them.

Not kidding.
3) In some extreme cases with a VERY small portion of CrossFitters (or similar types of workout programs), an incredibly serious medical condition called rhabdomyolysis can take place.
When people push themselves too hard, too much, too fast, their muscle fibers break down and are released into the bloodstream, poisoning the kidneys.
At CrossFit, some coaches refer to this as “Uncle Rahbdo,” though it’s not something funny or enjoyable.
You can read all about the condition and issues it can cause here. This typically occurs with ex-athletes who have not exercised for a while and come back trying to prove something, and end up working at a higher intensity than their body can handle.
So, like with any activity, you can have people that like to push themselves too far, too hard, too fast, and too often.
Unfortunately, due to the nature of CrossFit (where this behavior can be encouraged and endorsed by the wrong coach), you can end up in some serious danger if you don’t know when to stop or have a coach that will tell you when to stop.
Personally, I find these issues to be more with individual people than with the CrossFit system as a whole, but it is the nature of CrossFit that attracts these people and encourages them to behave dangerously.
If you like the idea of strength training, but are a bit worried about starting with CrossFit, I hear ya.
We help people like you with our 1-on-1 Online Coaching Program. We create workout programs that are tailored to your experience, and adjust them based on your progress.
We do video form checks, you can text back and forth any questions with your coach, and more.
We also have our massive Strength Training 101 guide so you know exactly how to get started and even provide you with specific workouts to follow! Get it free when you sign up in the box below and Join the Rebellion!
- Everything you need to know about getting strong.
- Workout routines for bodyweight AND weight training.
- How to find the right gym and train properly in one.
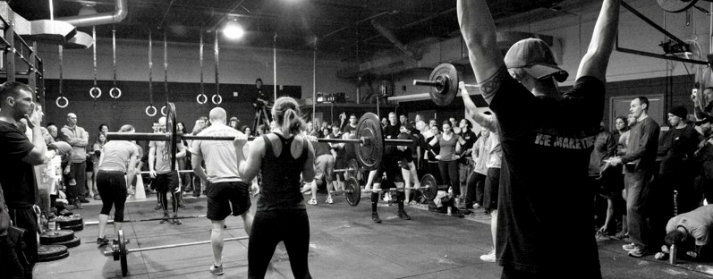
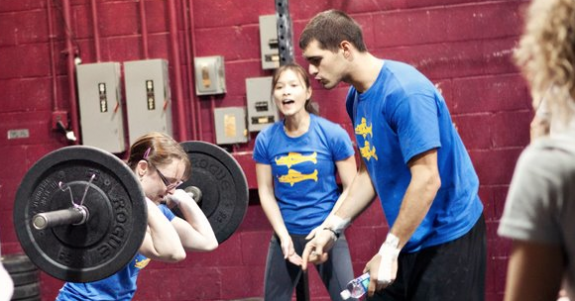
What’s a CrossFit Class Like?

Let’s say you’re interested in joining a CrossFit class, but you don’t know what you’re getting into!
Practically every CrossFit gym around the world will let you come in and try out a class for free, so contact your local gyms and find out what dates and time they’re having newbie sessions.
This is how CrossFit classes are usually structured:
- Introduction class – For people who have never tried CrossFit before. Usually, there’s a quick overview, and then a basic bodyweight movement workout, and then they talk to you about joining. These are usually free.
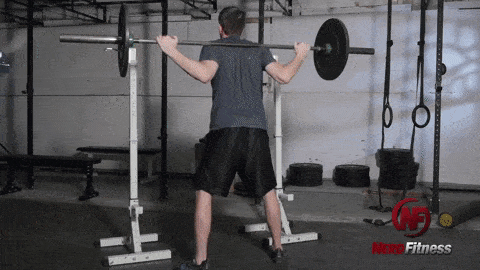
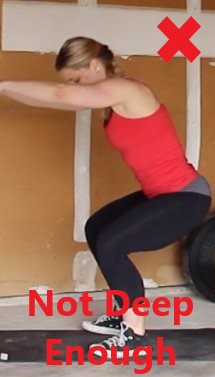
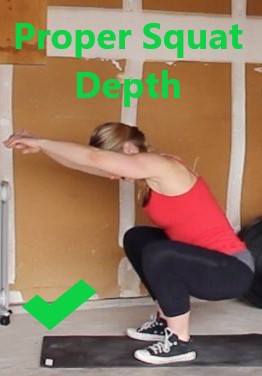
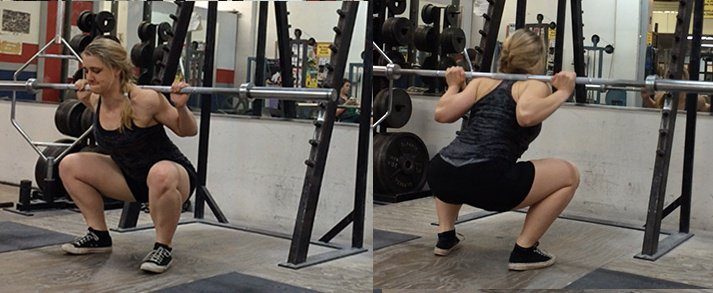
- On Ramp/Elements – If you’re interested in joining the regular CrossFit workout, you’ll most likely be required to go through the On Ramp/Elements course. The purpose of these is to teach you the nine foundational movements of CrossFit and all about proper form. No matter how experienced you are, these are valuable and worth the time and money. Even if you think you have perfect form on your squats, deadlifts and/or overhead presses:
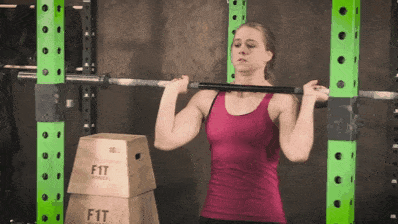
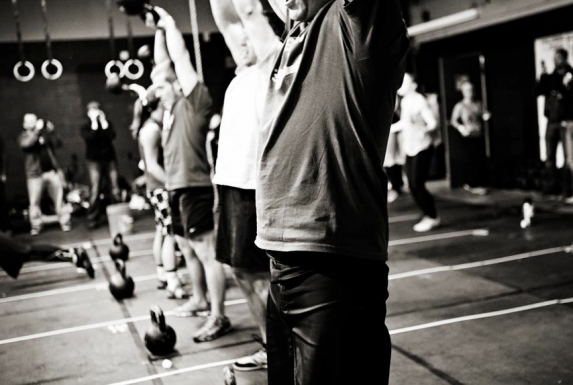
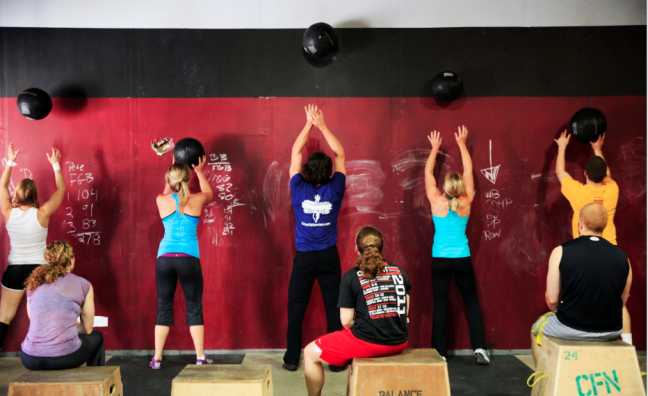
It’s amazing what can be fixed when you have a trained set of eyes watching you do them. - Regular classes: This is what you’re probably used to seeing or hearing about. A regular CrossFit class takes anywhere from 45 minutes to an hour. Everybody starts at the same time, there are instructors walking around helping out and keeping track, and everybody is supporting each other and probably swearing a lot.
Most CrossFit gyms will split their classes into three or four sections:
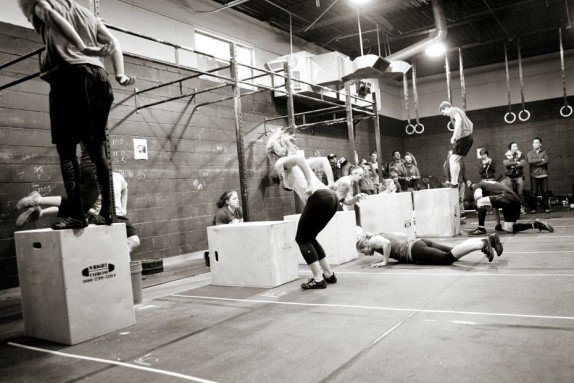
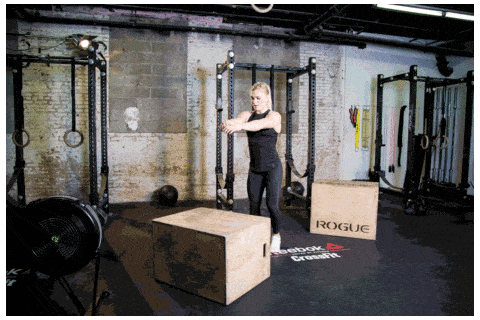
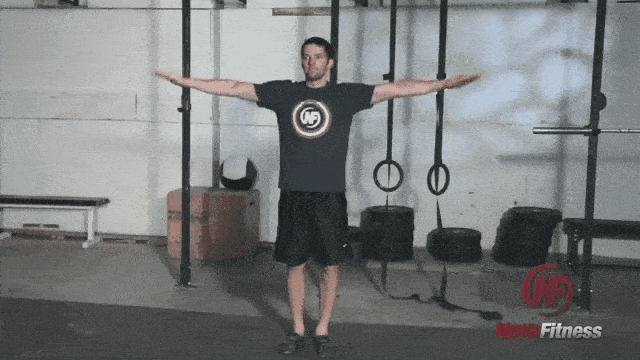
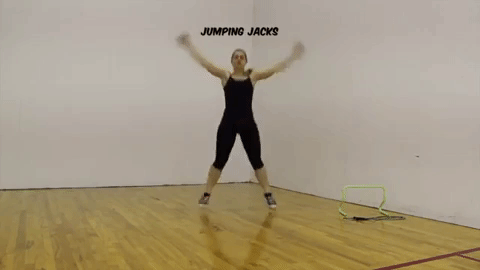
- Dynamic warm-up – Not jogging on a treadmill for 5 minutes, but jumps, jumping jacks, jump rope, squats, push-ups, lunges, pull-ups. Functional movements, stretches, and mobility work that compliment the movements you’ll be doing in the workout that day.
- Skill/Strength work – If it’s a strength day, then you’ll work on a pure strength movement (like squats or deadlifts). If it’s not a strength day, then you’ll work on a skill and try to improve, like one-legged squats or muscle-ups:
- WOD – the workout of the day. This is where you’ll be told to do a certain number of reps of particular exercises as quickly as possible, or you’ll have a set time limit to do as many of a certain exercise as possible.
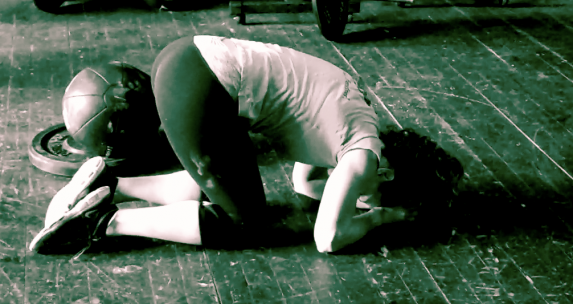
- Cooldown and stretching – Either as a group, or you’re allowed to stretch out on your own. This would also be the time for people who pushed too hard to go puke in a trash can and stretch their stomach muscles.
How to Find a CrossFit Gym

So, let’s say you’re interested in trying out a CrossFit class or maybe joining a CrossFit gym.
If you happen to live in a city, there are probably more than a dozen CrossFit “boxes” in your area.
Other than picking the one that’s closest to you, why not put a bit more thought into it? This isn’t like picking a commercial gym – the community and coach are so freaking important.
First and foremost, you need a gym with competent, experienced coaches.
You should be able to see through that particular CrossFit gym’s website – not the main CF site – who the coaches are and how long they have been teaching, including their certifications.
Here’s a quick breakdown of what you might see from coaches:
- CrossFit Level 1 – an ANSI-accredited certification. This means the person went to a weekend-long course and passed the exam. You’re taught the basic movements, how to scale each movement, but not really much more. There are no specifics on how to deal with injuries, anatomy, etc.
- CrossFit Level 2 – This is the next level up from Level 1, and involves far more in-depth training in coaching.
- Certified CrossFit Level 3 Trainer – This is for coaches who have passed both the Level 1 & Level 2 certification courses as well as a CrossFit-specific exam.
- Certified CrossFit Level 4 Coach – Given after an assessment/evaluation of a coach’s abilities, and the highest certification level available.
- Specialty Seminars – These are one- to two-day courses on specific topics like gymnastics, Olympic lifting, and running.
- Other non-CrossFit certifications from personal training organizations, powerlifting programs, kettlebell programs, etc.
There’s big money in CrossFit these days, which is why so many gyms are opening up all over the country. Make sure to do the research on who your coaches are, and if they have actual coaching experience.
The other important thing to check out is PROGRAMMING!
CrossFit programs can be truly random, and an inexperienced coach can accidentally program back-to-back workouts that use the same muscle groups in the same way, not giving you enough time to recover.
On every CrossFit gym’s website, there’s usually a blog where they post the workout of the day.
Look over this for the gym you want to check out and see what they typically do. If they do high-rep cleans three days in a row, they obviously don’t program well.
Or if you see every day for a week with heavy shoulder movements, be wary!
Remember, most CrossFit gyms will let you attend one class for free. If you have a few in your area, try out each of them once before making your decision.
Go to each one and make note of the other members:
- Are they supportive of each other?
- Did they introduce themselves and welcome you?
- Were the coaches nice and hands-on with their advice during the workout?
A good community can be absolutely critical for success, so picking the right gym that fits your personality and situation is super important.
If you’re not sure how to find the right gym, or you want nutritional help and form checks as you’re trying to figure this stuff out…
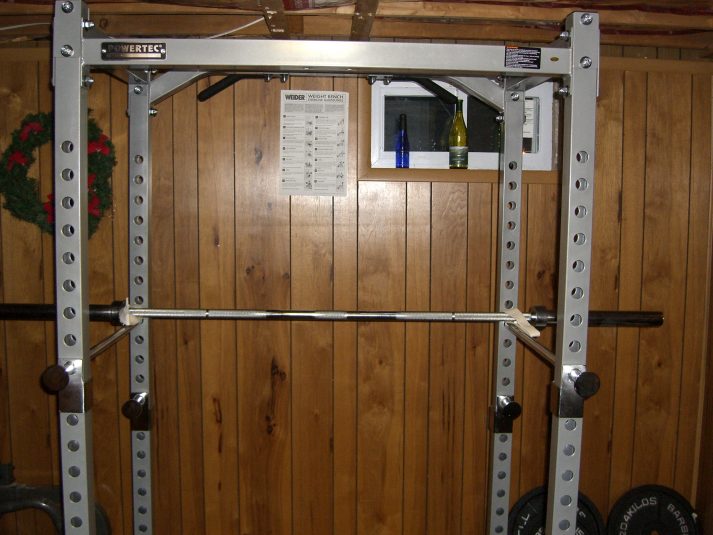
Can I Do CrossFit at Home?
Every day, CrossFit.com puts out the workout of the day (or WOD), which can be done at home, in a commercial gym, or in a CrossFit gym.
Every CrossFit gym will put out their own WOD as well, which can be different from the CrossFit.com site – if you happen to find a local CrossFit site that you enjoy but don’t attend full-time, it’s more than okay to follow their workouts.
The best news about this is the workouts are posted free of charge to anybody that is interested in doing them.

CrossFit gyms can be prohibitively expensive, so if you love CrossFit but are looking to save money, you can follow along at home or in your office gym provided you have the right equipment.
Many times, you’ll run into situations where you can’t complete a particular workout because you don’t have the right equipment. Do the best you can with what’s available to you, and keep track of how you made your modification for tracking purposes.
Now, there are a few challenges with following CrossFit at home or by yourself in a gym:
- Nobody is checking your form – CrossFit requires many incredibly specific movements; if you start by yourself at home, you’ll never know if you’re doing them incorrectly and could severely hurt yourself as you increase the amount of weight with which you work.
- Lack of communal camaraderie – A HUGE part of CrossFit is the supportive community aspect that comes with each gym. I guarantee you’d finish a workout a few seconds (or minutes) faster if you had 50 people screaming your name and cheering you toward the finish line.
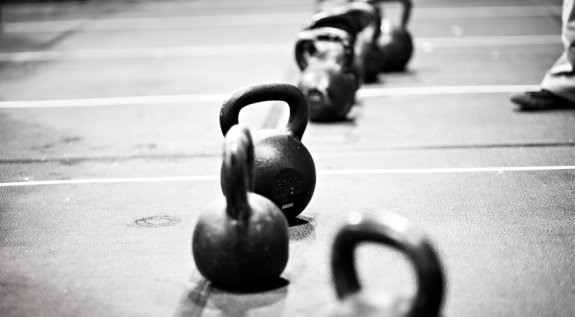
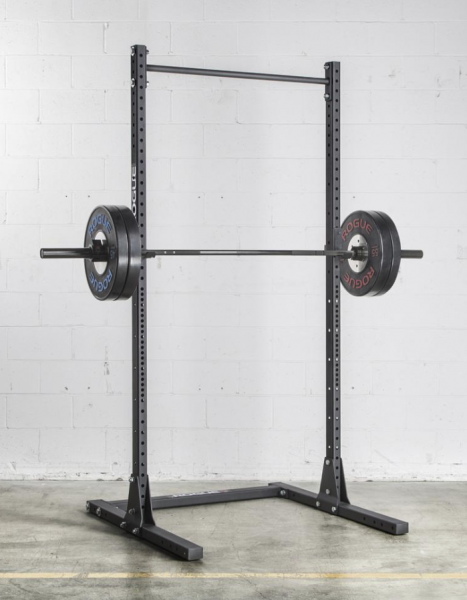
- You probably don’t have all of the equipment – If you’re working out at home, you probably don’t have a full squat rack, bumper plates, kettlebells, medicine balls, and so on….so you’ll often be creating your own workouts that are modified versions of the online versions. You might also not be able to bounce and throw your weights around like CrossFitters tend to do 🙂
- You will want to buy all of the equipment – The more you do it, the more you’ll want to do it properly. This might not cost as much as an actual box, but it will cost you.
Even with all of these negatives, it could save you quite a bit of money each a month by not joining a gym, so I don’t blame you – just be smart about it.
If you’re somebody that does want to train at home or doesn’t have access to a CrossFit gym you can trust, there are two things to consider:
- Making sure you’re doing your exercises correctly so you don’t develop bad habits.
- Personal accountability (somebody to check in on you and cheer you on)
We’ve focused on both challenges with our 1-on-1 Online Coaching program.
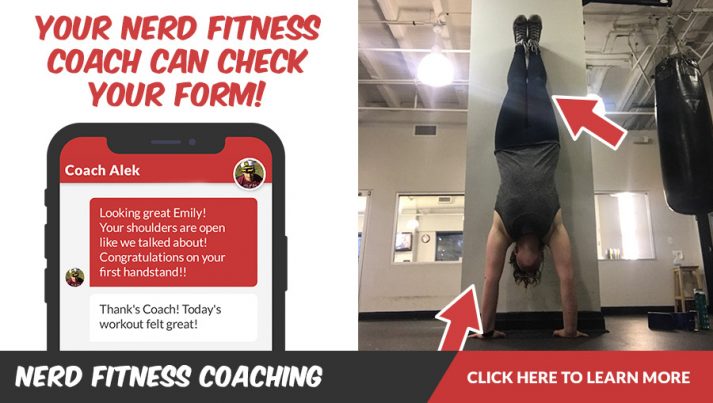
Our coaches work with clients to build workout programs specific to their situation and goals and do form checks on each exercise with their clients via video (to make sure they don’t hurt themselves). Plus, your coach comes with you no matter where you are in the world!
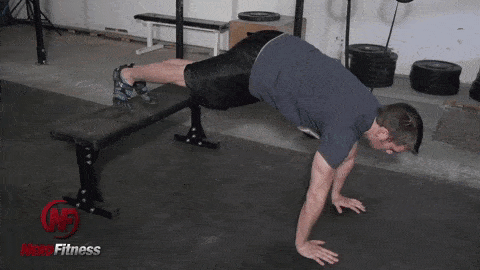
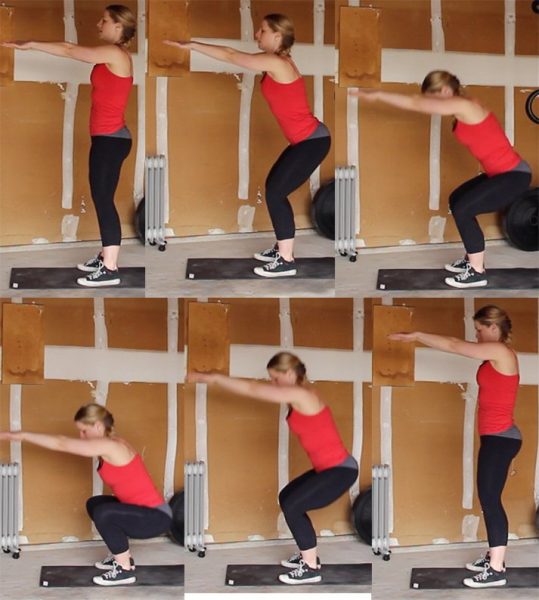
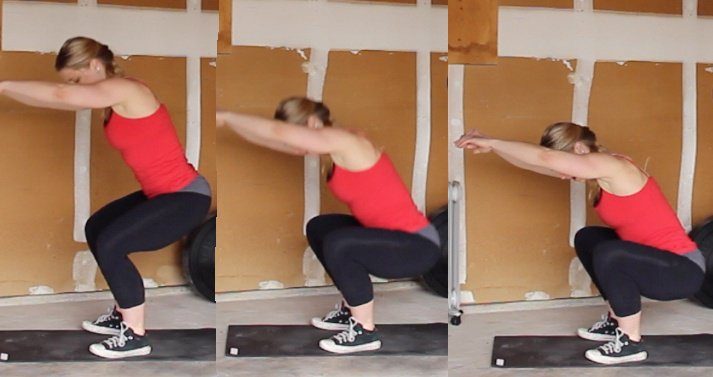
What is a CrossFit Workout I Can Try?
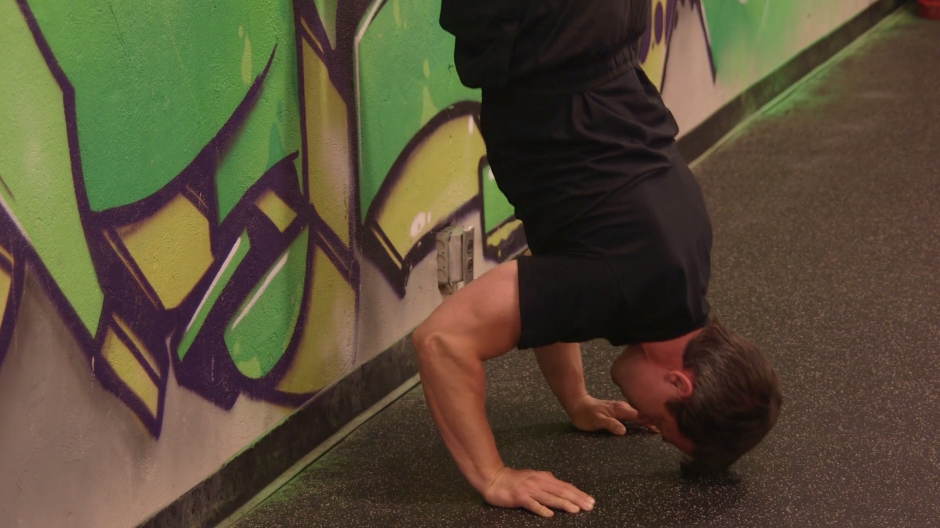
One of my favorite “first time” CrossFit workouts is a benchmark workout named Cindy.
It’s a simple bodyweight circuit (we love workout circuits at NF) and can be done practically anywhere – the only equipment you need is a pull up bar. It’s a favorite for travelling, and shorter versions of it (3 rounds) is often used as a warm up.
Cindy is 20 minute AMRAP (“as many rounds as possible”):
What this means is that you put 20 minutes on the clock and then do as many rounds as possible (AMRAP) of 5 pull-ups, 10 push-ups, and 15 squats before the time runs out. There is no scheduled rest in between rounds – as soon as you finish your 15 squats you start on the pull ups again.
Now, let’s look at each movement and how to scale it down if necessary.
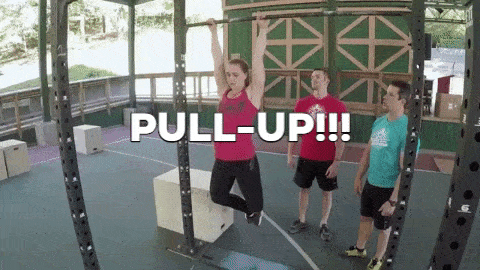
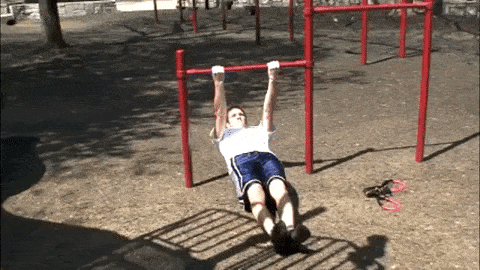
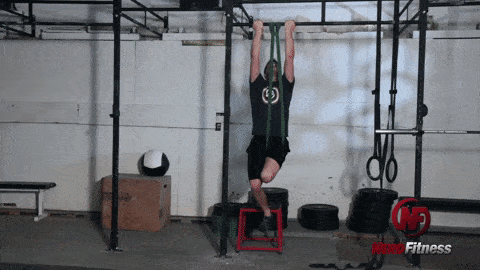
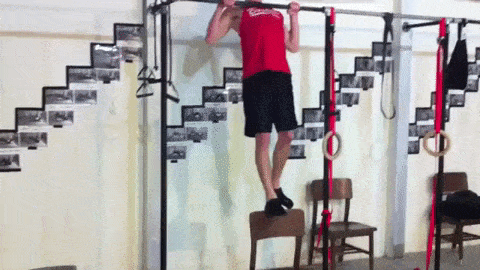
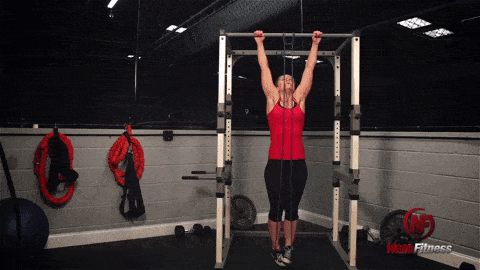
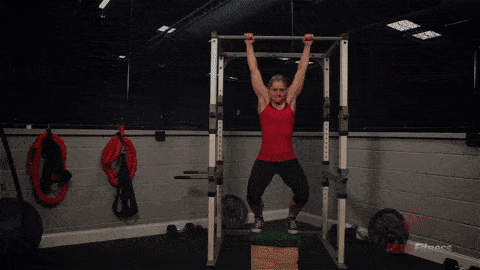
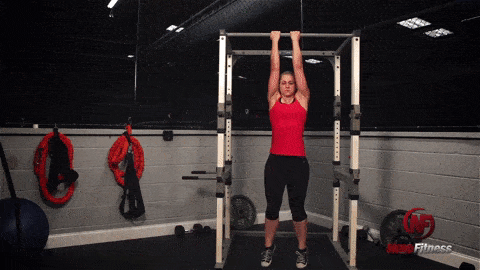
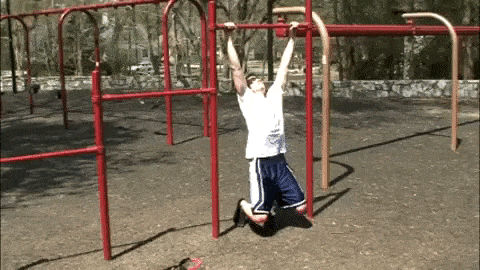
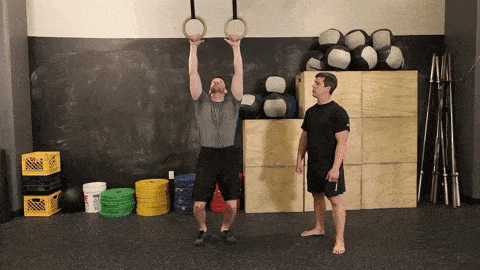
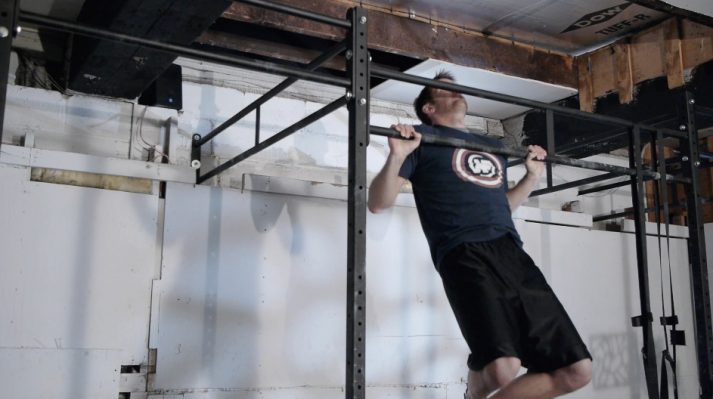
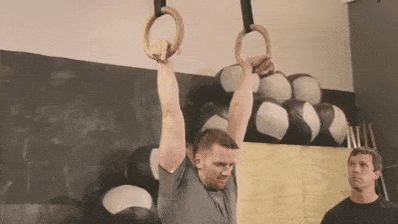
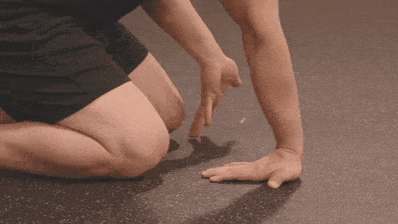
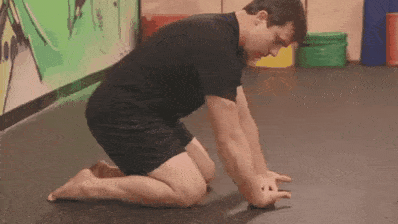
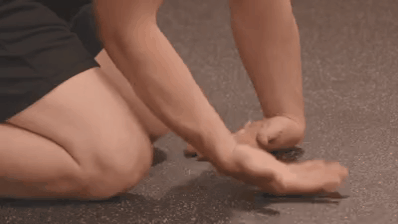
5 pull-ups – You’re allowed to kip these (which is a useful skill any time that your goal is not pure strength). If you can’t do regular pull ups, you can do banded pull ups, chair assisted pull ups, or jumping pull ups instead.
Don’t have a pull-up bar? Do bodyweight rows.
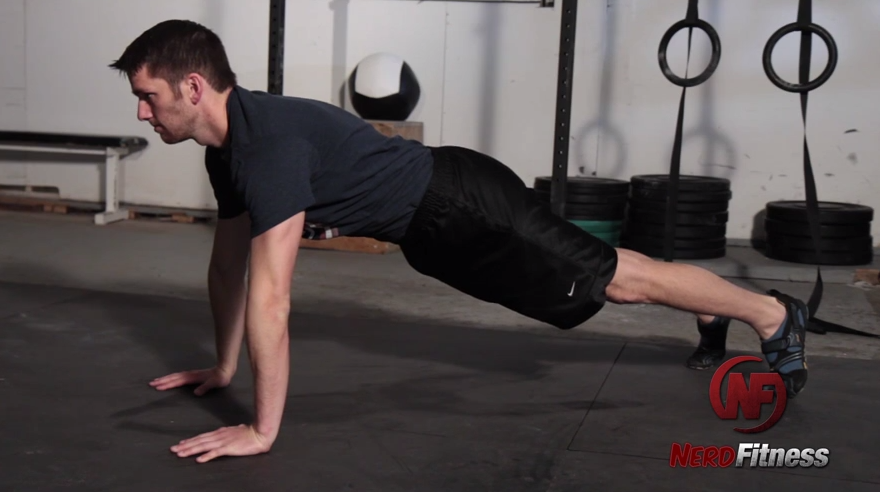
10 push-ups – The standard CrossFit push up is chest to the deck, but if you can’t do that, you can substitute knee push ups or wall push ups.
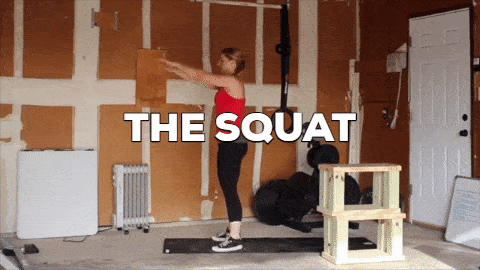
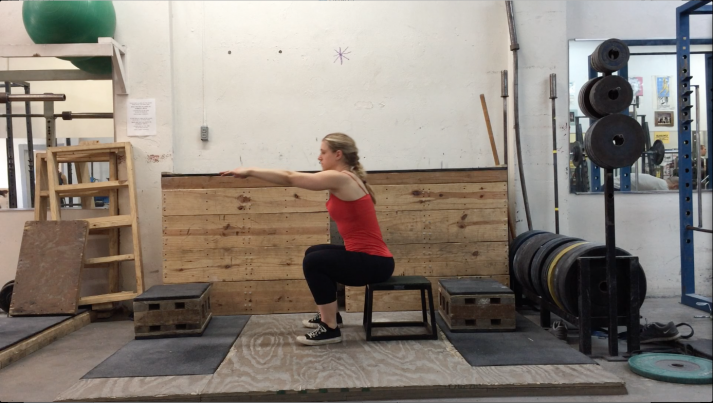
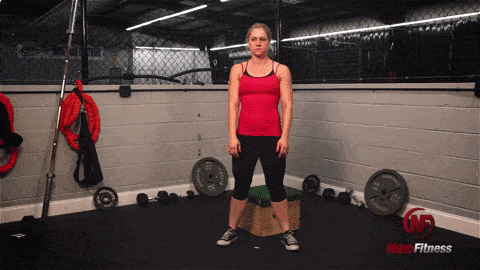
15 squats – this is a basic air squat, with no weight.
There are also other variations of this workout for beginner athletes. Some examples are:
| AMRAP 20min: 3 Pull-ups 6 Push-ups 9 Squats |
AMRAP 12min 5 Pull-ups 10 Push-ups 15 Squats |
AMRAP 12 min 1 Pull-ups 4 Push-ups 7 Squats |
AMRAP 10 min 1 Pull up 4 Push-ups 7 Squats |
Sound too easy? Go faster.
While you are getting strength benefits from this workout, the goal of this workout is more metabolic conditioning, so making the movements harder (like switching to divebomber push-ups) isn’t something you would want to do here.
You can find some of the other benchmark workouts here.
And if you want a fun series of workouts you can follow along with at the gym or home, let us create a custom workout solution for you! We’ll even help you start eating better too so you can reach your goals:
Frequently Asked Questions on CrossFit:
#1) “Why is CrossFit so expensive?”
CrossFit has group classes. Think of yoga classes – they are typically $10-20 each. It’s not like a normal gym where there are hundreds of members who come in, use the elliptical for 20 minutes and go home – there is a coach teaching the class.
#2) “Is CrossFit just classes? If I want to workout in addition to my CrossFit classes, would I need a separate gym membership?”
At most CrossFit gyms, yes – it’s just group classes. Some CrossFit gyms have “open gym” hours – but not many are open for use 5am-11pm like your local commercial gym.
#3) “Do I have to eat Paleo Diet if I do CrossFit?”
Absolutely not. Paleo is the diet recommended by CrossFit and a lot of CrossFit gyms have paleo challenges – but you don’t have to (and I’ve never had it pushed on me).
#3) “What is a kipping pull-up? Isn’t that cheating?”
A kipping pull-up is a form of pull-up where you swing your body and use the momentum and a hip drive to get your body to the bar.
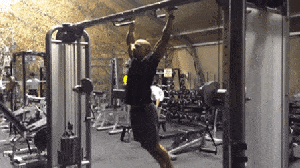
It’s not cheating because it’s not meant to be the same exercise as a dead-hang pull-up.
Some workouts call for a dead-hang pull-up – and in those you would not be allowed to kip.
#4) “Will CrossFit make me lose weight?”
If you work hard and change your diet. Diet will be 80% of success or failure, but combine a healthy diet with CrossFit and I’d bet anything you start to look better, get stronger, and feel better within 30 days.
However, if you eat like garbage and do CrossFit, your results will vary. It’s why we preach focusing on your nutrition above all else!
#5) “What’s with the girls’ names for workouts? Why do people say things like ‘We’re doing Mary at CrossFit today!’?”
CrossFit has what are called “benchmark workouts” with female names (they also have “Hero WODs” named for fallen military/police/fire personnel).
CrossFit’s reasoning is this: “…anything that leaves you flat on your back and incapacitated only to lure you back for more at a later date certainly deserves naming.” (CF Journal – Issue 13, September 2003)
Here’s the list of the ladies and what their workouts are.
Is CrossFit Right for Me? (Pros and Cons)
The Benefits of CrossFit:
- GREAT community aspect. Unlike a commercial gym, you actually get to know the people at your box. Most gyms will have outings that a LOT of people show up to. There’s always that feeling of teamwork and camaraderie.
- Constant coaching and support – In a commercial gym you have no clue if you’re doing an exercise right or not. While it’s not 1:1 training, you have a coach with you during every workout to help out.
- If you don’t show up, not only do people notice, but they call you and ask where you’ve been. The only time that happens in a commercial gym is when you miss a session with your overpaid trainer.
- Leveling up – Because you get to keep track of how much you’re lifting, and you know how many reps and sets you’re doing, you get to see constant improvement. You also get to advance at your own pace, slowly working your way up towards doing the workouts as prescribed.
- Humbling yet encouraging – Yeah, you might end your workout lying on your back, but you have a sense of accomplishment when you finish a workout faster than last time.
- Competition – It’s amazing how much further you’ll push yourself when surrounded by other people cheering you on and competing with you.
- It introduces SO MANY people to weight lifting, especially women who would have never ever attempted to get off the treadmill and strength train. It’s like a gateway workout – you learn what you love and can specialize further from there.
- It’s a good outlet for former athletes who like to compete. After playing competitive sports through high school and college, all of a sudden there’s nothing left to compete in – CrossFit gives people that outlet.
- You get to find out what you’re made of. CrossFit can be miserable, but it can also teach you how to push through mental barriers, build mental toughness and more.
- It builds great physiques (look good naked). While so many women say they want that “toned” look and try to get it with hours of cardio, those bodies are being built every day in CrossFit gyms. Seriously, while their goal is performance rather than aesthetics, take a look at any serious CrossFit female athlete and tell me she doesn’t look incredible!
- It builds good muscular endurance and all-around fitness – your body is prepared for pretty much any athletic situation through smart CrossFit programming.
The Negatives of CrossFit:
- Not great for specialization – You kind of get good at a lot of things, but not great at any one particular thing. If you want to be a great powerlifter or athlete, you’d be better suited finding a sport-specific coach.
- Lack of consistency – You rarely do the same workout twice, which makes it incredibly difficult to track your progress. You might go down one week on squat strength and be disappointed, but it’s because you destroyed your legs two days earlier with 150 “wall balls.”
- Odd programming – As you’ll read in another critique later in this article, I don’t agree with some of the workouts that are prescribed at some CrossFit gyms. For example, some workouts might call for high reps of snatches; these are an Olympic lift that require perfect form in order to be done successfully. Doing 30 reps of them is a sure-fire way to sacrifice form and dramatically increase the risk for injury.
- Price – CrossFit boxes can be two or three times the monthly cost of a commercial gym, and this is just for the group classes, not use of the facilities any time you want.
- A bad coach can REALLY cause problems – You’re doing advanced moves that often take months of learning to do right; with heavy weights, this can lead to horrible injuries. Make sure you have a great coach that doesn’t rush you into anything!
- Almost everything is for time or most reps possible, which means form starts to slip in order to finish quicker. This can be fixed with a coach…but I still find it to be an issue.
- You start to talk a language nobody understands – talking to a CrossFitter is like talking to somebody in a foreign language. CrossFit people oftentimes forget that nobody outside of CF understands what half the stuff they say means, so they shout out achievements or accomplishments and explain how quickly they did specific exercises…but they don’t realize nobody really cares!
- You can get addicted! This can go in either Pro or Con depending on how you look at it, but I know many people that started going to a CrossFit and now all they do or talk about is CrossFit. After a month or two, for better or worse, you might find yourself married to your CrossFit gym and community.
- Some CrossFitters drink WAYYY too much “kool-aid.” You’ll run into CrossFit people who think CrossFit is the be-all, end-all training solution, and anybody that doesn’t do CrossFit is a wuss. If you can do 20 pull ups, they can do 22, and do them faster than you, after doing 25 handstand push ups and running 400 meters. I tend to dislike elitists no matter what they are elitist about, and CrossFit is no exception.
Depending on where you fit on that Pro vs Con list, you probably are starting to make your mind up about whether CrossFit is for you.
If you like the IDEA of CrossFit but aren’t sure it’s for you, we help people like you through our 1-on-1 Coaching Program. We create custom workout programs, offer video form checks, and provide nutritional guidance to help you reach your goals safely!
Other Critiques and Articles on CrossFit
If you’re new to CrossFit, you might not know that it is an INCREDIBLY polarizing topic.
If you have 15 minutes to kill, a quick look at this anti-Crossfit timeline (created by a person who truly dislikes CrossFit) will explain why so many people are pissed off about it.
We’ve tracked down a few other articles, some biased, some not, that explain a lot of the background and why CrossFit is the way it is.
I LOVED this critique of CrossFit by 70’s Big, which I found to be incredibly fair and very objective. The fact that the author starts with “Note: Read ALL of this before attacking me” goes to show you how hardcore some CrossFitters can be.
Although long, this article does a GREAT job explaining why CrossFit is the way it is, coming from a guy who has a CrossFit II certification and spent a few months following the main site workouts. This paragraph sums up the appeal of CrossFit:
CrossFit can be fun, especially if you’re a person who hasn’t done anything physically challenging since playing sports, or ever.
Athletes enjoy it because it because it provides that difficulty that their training did. Unathletic people like it because it makes them feel athletic.
People who never had good social group experiences like it because, even if they are crazy, CF communities are always positive, supportive, and good-natured.
CF brings people together and makes them compete every day in a society that shies away from competition. The challenge creates a heightened sense of self worth that develops into being an elitist..
…The forum addicts are proud of the fact that they think other populations can’t do what they can do. They revel in the fact that they got injured doing CF. They want to push so hard that they vomit.
This only reflects a certain percentage of the CF population, yet the worst part of any population will create the stereotype.
I have a few problems with CrossFit. The conditioning often doesn’t apply an optimal stress and it’s superfluous.
It doesn’t have any real element of consistent strength training…It has entirely too much frequency at high intensity and almost always results in injury.
It doesn’t follow a logical application of stress to induce adaptation…but CrossFit gets people to do something rather than nothing.
It also gets the exercising population to do something better than 45 minutes on the elliptical.
…It’s a nice gateway into other forms of training and the people are always great.
This T-Nation article also does a solid job of explaining the potential pitfalls of CrossFit and tracks down some big names to give their input:
Alwyn Cosgrove notes that this “all over the place” programming can be dangerous: “A recent CrossFit workout was 30 reps of snatches with 135 pounds.
A snatch is an explosive exercise designed to train power development.
Thirty reps is endurance. You don’t use an explosive exercise to train endurance; there are more effective and safer choices.
Another one was 30 muscle-ups. And if you can’t do muscle-ups, do 120 pull-ups and 120 dips.
It’s just random; it makes no sense.
Two days later the program was five sets of five in the push jerk with max loads. That’s not looking too healthy for the shoulder joint if you just did 120 dips 48 hours ago.”
Mike Boyle adds, “I think high-rep Olympic lifting is dangerous. Be careful with CrossFit.”
Turned off from CrossFit after reading all of that?
I hear you – it really comes down to having a GREAT CrossFit gym being the difference maker.
If you’ve had a bad experience, or you just want to know you’re going to start strength training on the right foot and you like our style here at Nerd Fitness…
Final Thoughts on CrossFit
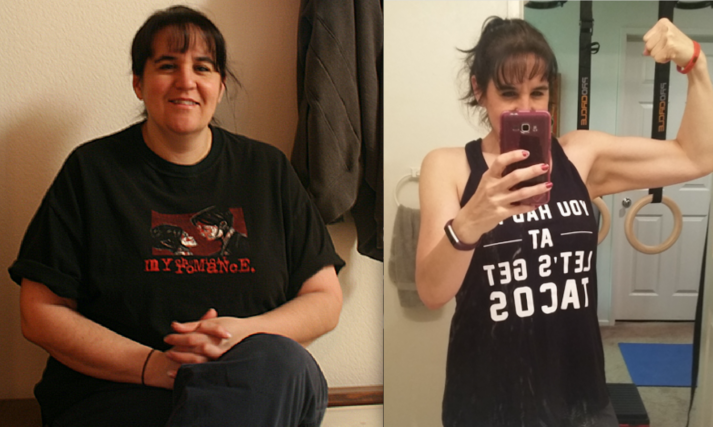
Staci from Team NF, who did CrossFit for many years, wrote our Strength 101 series, and now is a competitive powerlifter (and NF Coach):
First, I’m obviously a fan of CrossFit. I do it on a regular basis and have my CrossFit Level 1 Trainer Certificate, but I didn’t start out with CrossFit and it’s not all I do – so don’t think I’m completely biased here 🙂
I think if you find the right box, CrossFit is an awesome choice for a lot of people.
It’s different every day, so it’s never boring, someone is writing your workouts for you so you don’t have to think about it, and it’s fun.
When I don’t show up, people notice and ask where I was.
It gets you to do things you wouldn’t do on your own. I would never go running or rowing on my own – but if it’s in the WOD, I don’t have a choice.
Also, I’ll go and do things that I would never do before (such as yoga classes, or spending a Saturday afternoon doing hill sprints) because I know it will help me get a better time on a WOD later on.
My biggest issue with CrossFit is that it has no quality control across the boxes – all you need to start an affiliate is to pass the CF-L1 course and pay a $3000 affiliate fee, and once you are affiliated there are no check-ins or anything; you just have to pay the fee every year.
I have now been to 13 CrossFit gyms in my travels and while most of them were great, the quality of a few of them scared me.
I would absolutely love to see CrossFit take some of the money they are making now that it’s becoming more mainstream and invest in a quality control system.
I personally struggle on a regular basis because I’m much more interested in heavy strength training than anything else – and I’m one of those people who really likes seeing very linear graphs and results to my training, and I do want to specialize.
I have a very hard time creating workout plans because with CrossFit, you never know what’s coming next.
I’m lucky enough to have a coach that will work with me and will also let me do my own strength training and work the WODs around that.
Does it work? Well, what’s your goal? If it’s to get in better shape or to lose weight, then yes, it works. However, it’s not some cure-all magic pill – as with any other training program, you will get out of it what you put into it.
So do I think you should try it? Of course, if you want to and aren’t afraid of putting in a little work to get what you want.
And here are my thoughts. I’m just a nerd who happens to love strength training and is the goofball who wrote this article:
I understand the appeal, and I love the community aspect of it…but it’s just not for me.
I like feeling like I just had a great workout, but I don’t enjoy feeling like I want to die at the end of each workout – I know that’s how I’d feel at the end of each CrossFit workout because of my competitiveness.
The biggest reason for me why I’m not a CrossFitter? Well, other than my crazy travel schedule… I LOVE working out alone.
I know at CrossFit I’d be part of a team workout and constantly ripping myself for not being as good as the guy next to me.
From a programming standpoint, I don’t agree with some of the workouts (mostly the high-repetition Olympic lifting), but I understand that there are GREAT CF trainers that create amazing programs.
I love that it gets people started with barbell training and heavy lifting, because nothing makes me happier than watching guys doing proper squats and women doing deadlifts 🙂
Like with anything related to fitness, a good coach can be the difference between a great CrossFit experience and a dangerous one.
I think everybody should try it (your first trip will be free) and decide if it’s for you. If you decide it isn’t for you – that’s okay!
I’ll admit that CrossFit isn’t for me and I have no intentions of ever joining a CrossFit gym, but I don’t have any problems with others doing it if they enjoy it and they’re safe.
However, when the day comes that I open Nerd Fitness gyms (and it’ll happen), I’m going to be taking a LOT from CrossFit on how to build a great, supportive gym environment and community…something you won’t find at any commercial gym.
My final advice: If you’re interested, give it a shot. If you can afford it, and you enjoy it, keep doing it. If you don’t or can’t afford it, don’t. And don’t feel like less of a person because of it 🙂 I’ll still like you.
If you’re somebody that thinks similarly to Staci and I, and you’re looking for a Yoda to help you get strong without needing to join a specific gym or attend classes at certain times, check out our 1-on-1 Coaching Program!
Any More questions about CrossFit?
Good lord that took a while.
Thanks for taking the time to get through it, as it took Staci and I a few weeks of research, hours of writing, and LOTS of back and forth conversations to put this post together.
I’ll throw one final mention in there for our Nerd Fitness Coaching Program, where we pair NF Coaches with busy people like you:
- We create your workout programs and adjust the intensity based on your progress.
- We provide video form checks to make sure you’re doing each movement correctly.
- We help you get your nutrition in order to line up with your goals.
If you have read this far, I commend you.
You just read 6,500 words about CrossFit which means you’re probably serious about taking your physical fitness into your own hands.
Now, you just need to act.
Let’s go! Go do a workout RIGHT NOW, CrossFit gym or no CrossFit gym.
If you don’t know where to start, start here. You can do it right in your living room.
-Steve
###
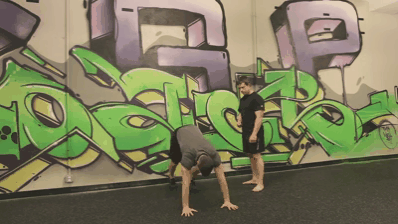
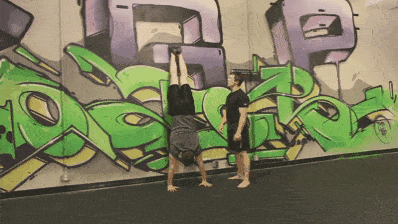
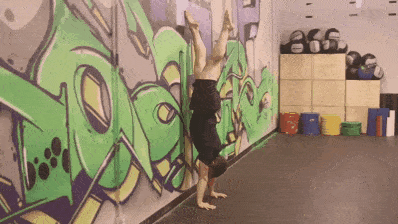
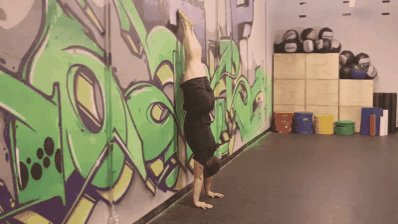
Special thanks to CrossFit Newton and Mandy Baker Photography for letting us use their photos.
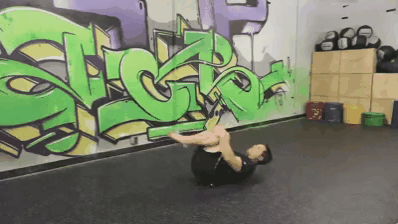
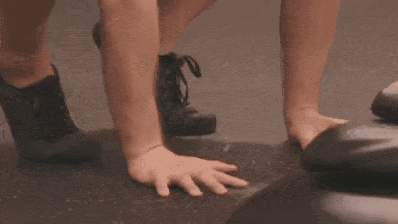
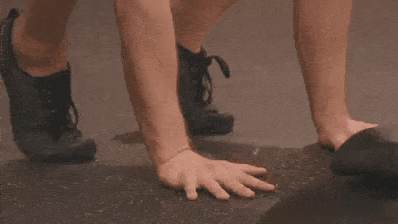
Gif Source: Kipping Pull-up
from Blog – Nerd Fitness https://ift.tt/2hC24ga
via IFTTT


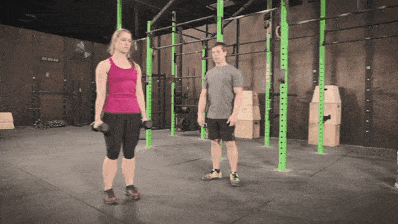
 The “circuit” in circuit training comes from the fact that you do a sequence of exercises back to back to back, and then you repeat the sequence.


 If you have access to a gym, you have a lot of circuit options.


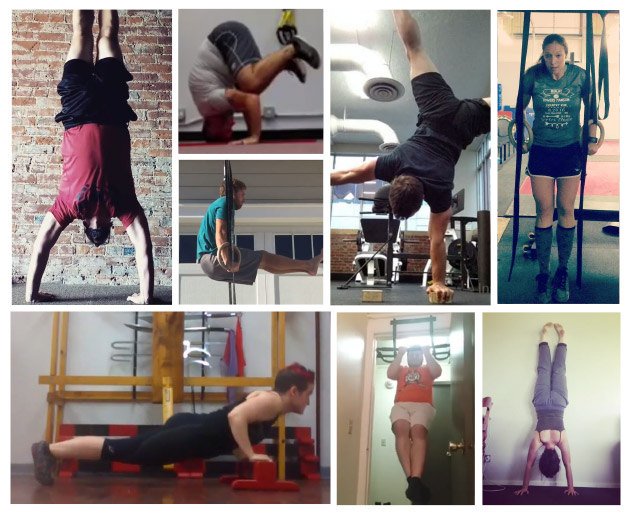


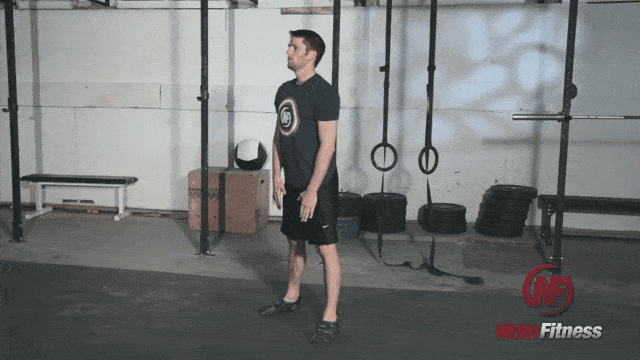


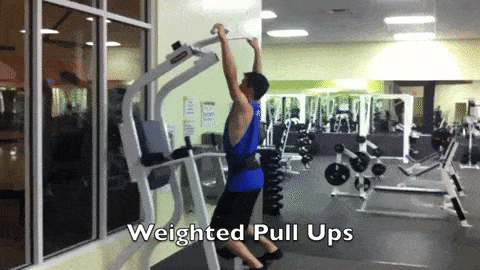
 Pull-ups are my favorite exercise of all time.